
Deployment portal
The deployment portal is a white-labeled setup page Alien hosts for your customer's admin. Your customer's admin never sees Alien: they open one link and set up your software in their own cloud, on a page branded with your logo and colors, and your domain once you add one.
What the admin gets
- One link, no account. They open a URL from you. They don't sign up for anything.
- Their own cloud, their own credentials. Initial setup runs in their AWS Console, Terraform, Helm, or terminal. You never get their cloud login.
- The tools their team already uses. CloudFormation, Terraform, Google sign-in, Helm, or a CLI, depending on the cloud.
- A status page afterward. The same link shows each deployment's status, release, and last heartbeat.
You write no code. You create the link, the admin sets up the deployment, and it appears in your dashboard.
How it works
- 1
Create a setup linkyou
In the dashboard, the CLI, or the API. One link per customer.
- 2
Open the linkcustomer admin
The admin picks a cloud, a setup method, and any inputs you asked for.
- 3
Run the initial setupcustomer admin
Once, with their own credentials. It creates a scoped management identity and the frozen resources.
- 4
Manage the deploymentAlien
Alien rolls out releases and reports status, without the admin.
The admin acts once. Initial setup is that one-time step with their own credentials. Ongoing management is everything after it, which Alien runs on its own. See Frozen and live resources.
The portal serves two of the Deployment UX options: when you send a link, and when you launch the portal from your product with a Deploy button. To skip the portal and show your own screens, build it into your product.
Create a link
A setup link is a URL for one customer: https://<portal domain>/deploy#<token>. Create it in the dashboard (Deployments → Deploy release), or from the CLI:
alien onboard customer-1 --platforms aws,gcp --max-deployments 1The link limits what the portal offers:
- The platforms in your stack, or fewer if you restrict them.
- The setup methods whose setup packages are built.
- The inputs, network and size choices, release pinning, expiry, and Max deployments you set.
Create a setup link lists every option. To create links from your backend, see Add a Deploy button.
To see the portal yourself, click Open portal after you generate a link, or open the link in a private browser window.
Brand it
Set the title, logo, colors, and support links in project Settings → Deployment Portal. By default the link points at Alien's host. Add a custom domain, such as deploy.acme.com, to serve the portal and the package downloads from your own domain.
Brand the portal covers each setting and the setup CLI name. Links and branding is the checklist before your first customer.
Who opens the link
The admin needs permission to create IAM identities and every frozen resource in your stack. Frozen resources are the ones only the initial setup may create, such as a bucket that holds customer data.
In practice that's an administrator role on AWS, or Owner on the Google Cloud project or Azure subscription. On Kubernetes, they need rights to install the chart into its namespace. Each platform page lists the exact requirements.
Often the person who gets the link isn't that admin: it's your champion, a developer, or a buyer. They forward the link to the admin, and nothing else needs to happen on your side.
Open the link
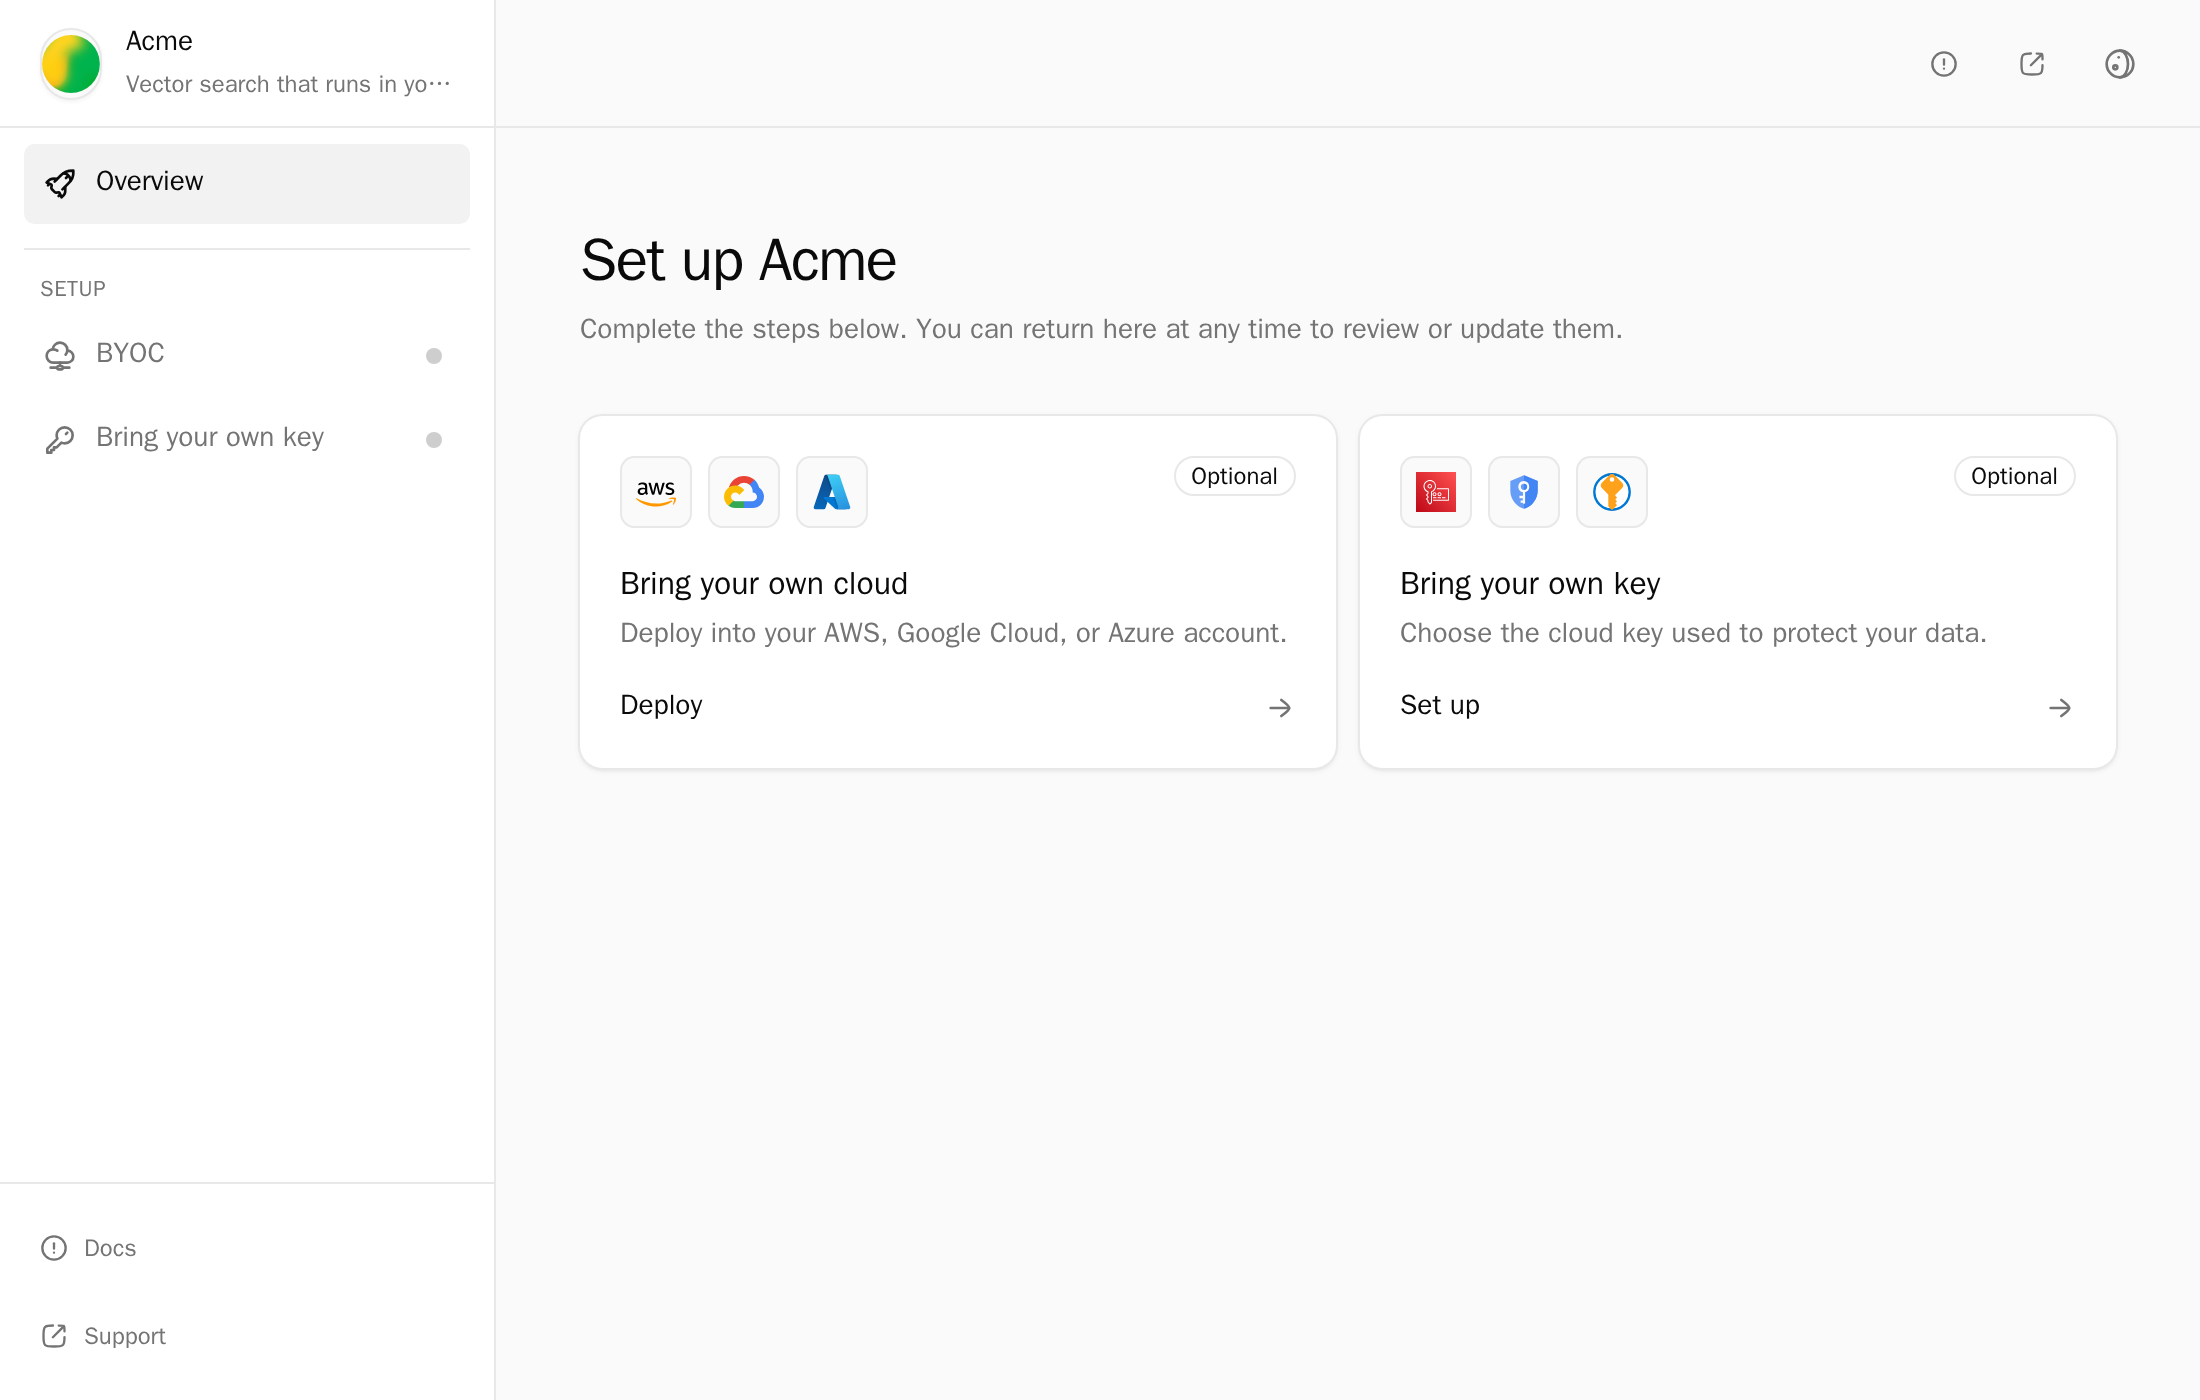
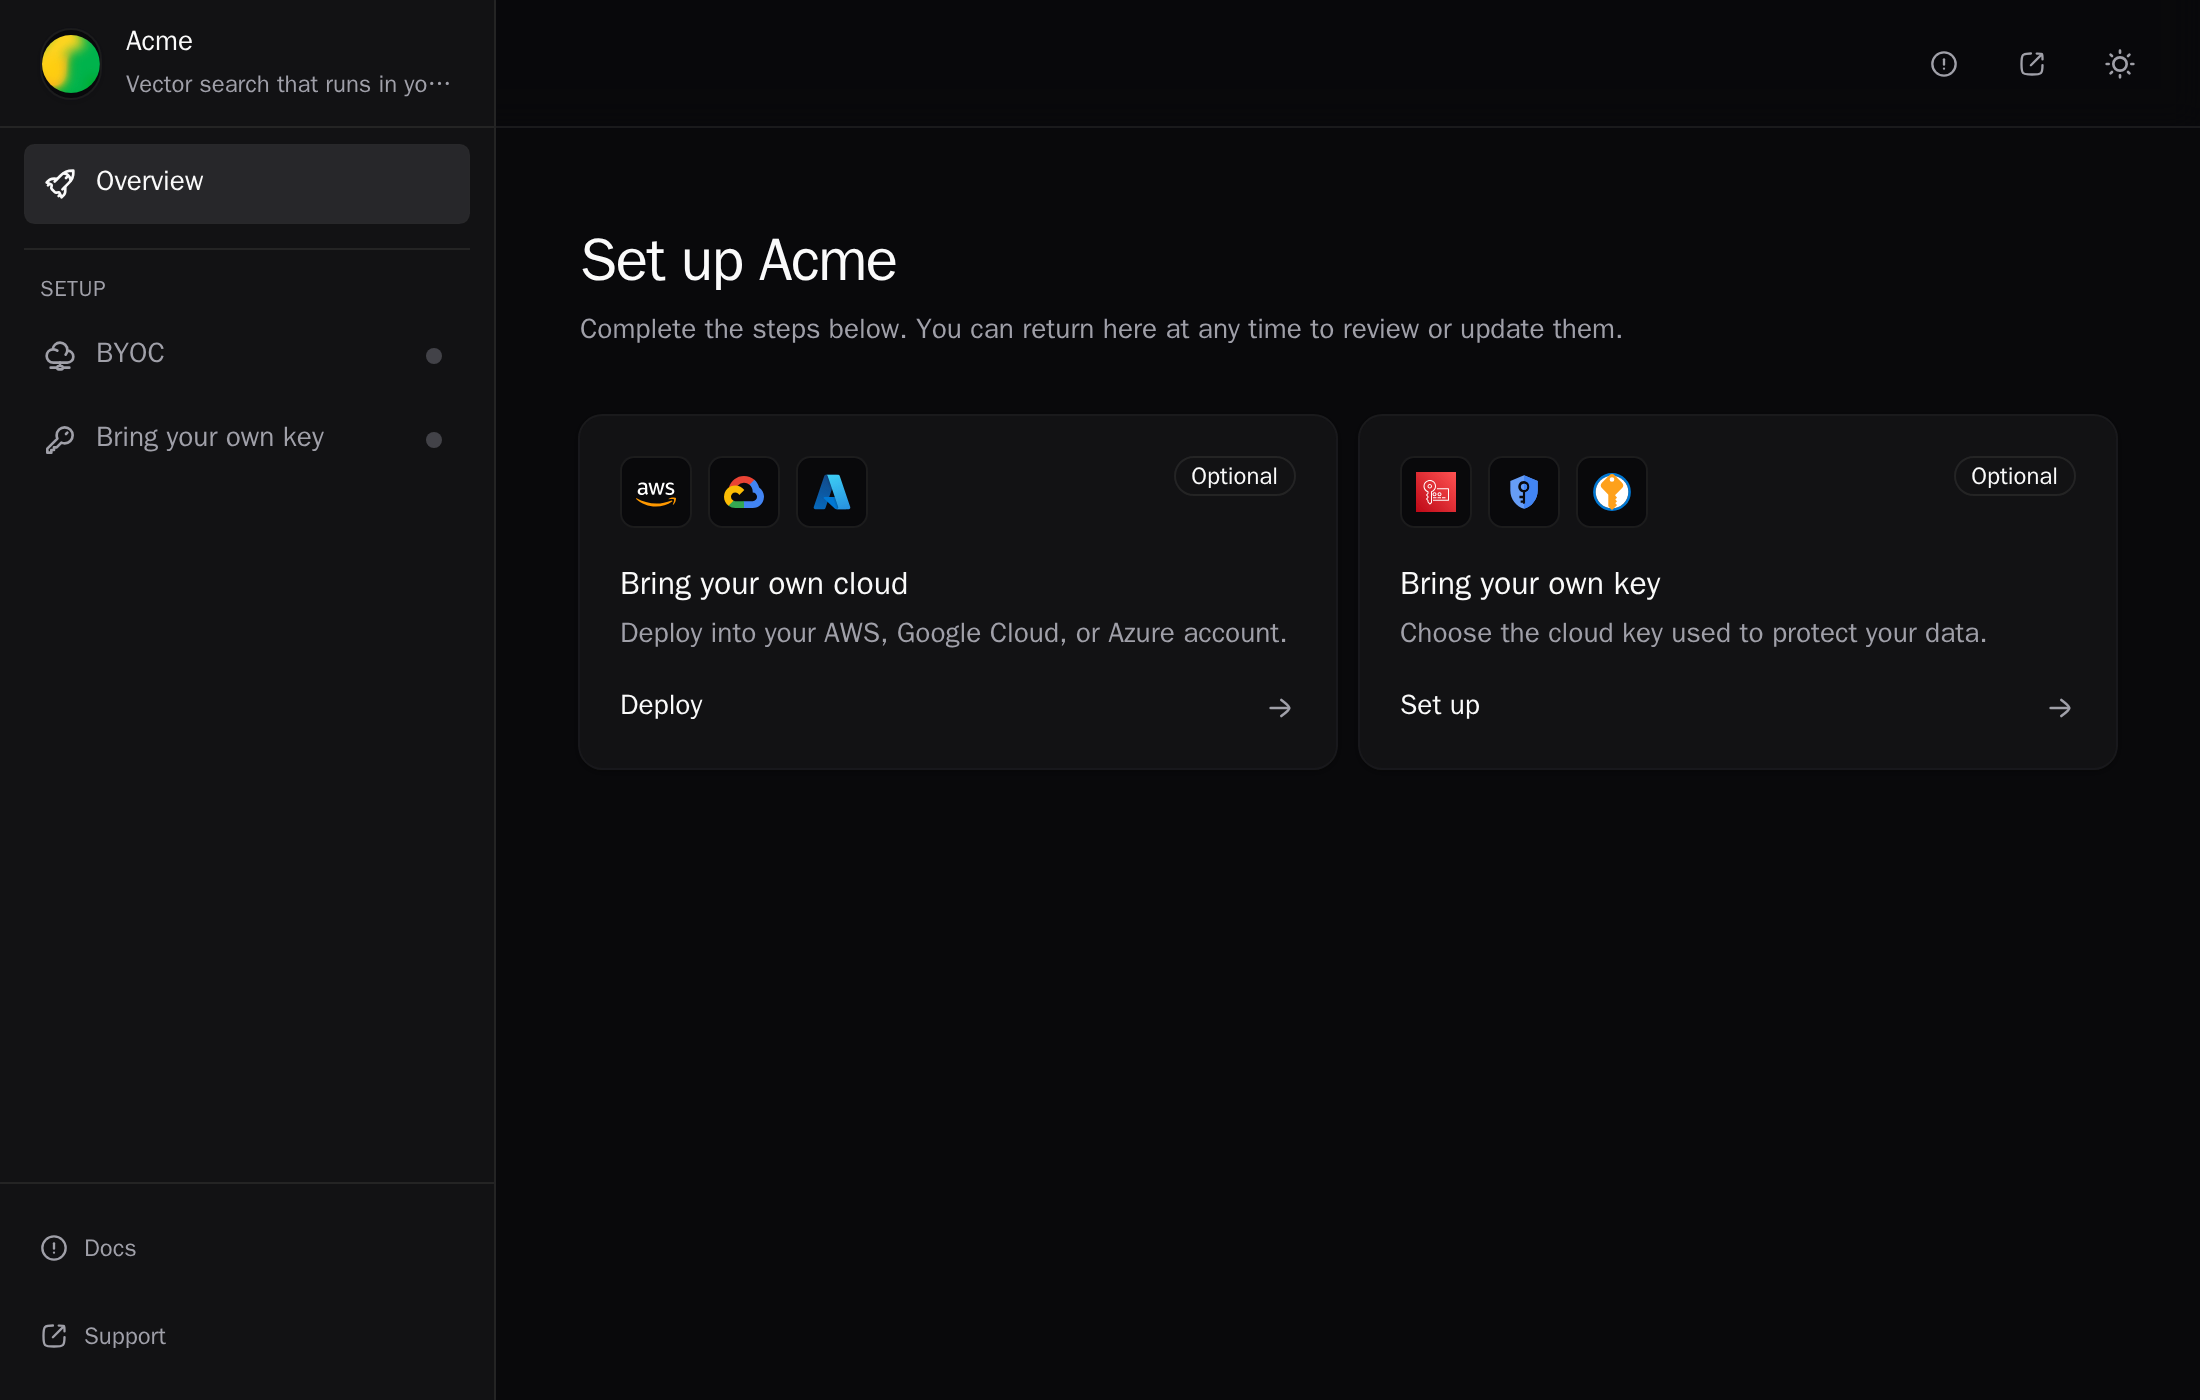
- A link with one setup item opens straight on that item. A link with several opens on Overview (shown at the top of this page), with a card for each: Bring your own cloud, Bring your own AI models, Bring your own key, Data storage, Container images, or Sandbox. Each card shows Connected, Needs attention, or Optional.
- While the setup packages for a new release are still building, the portal shows Building deployment packages. It unlocks as soon as one setup method is ready.
- An expired or revoked link shows Link invalid or expired and asks the admin to get a new one from you. A link with part of the URL cut off shows Incomplete link.
Opening the link again, or from a second browser, shows the same customer. The portal lists the deployments already created from the link under Deployments, with their live status.
When the customer already holds Max deployments, the portal shows that list instead of a new-deployment form. A second click can't create a duplicate.
Choose where to deploy
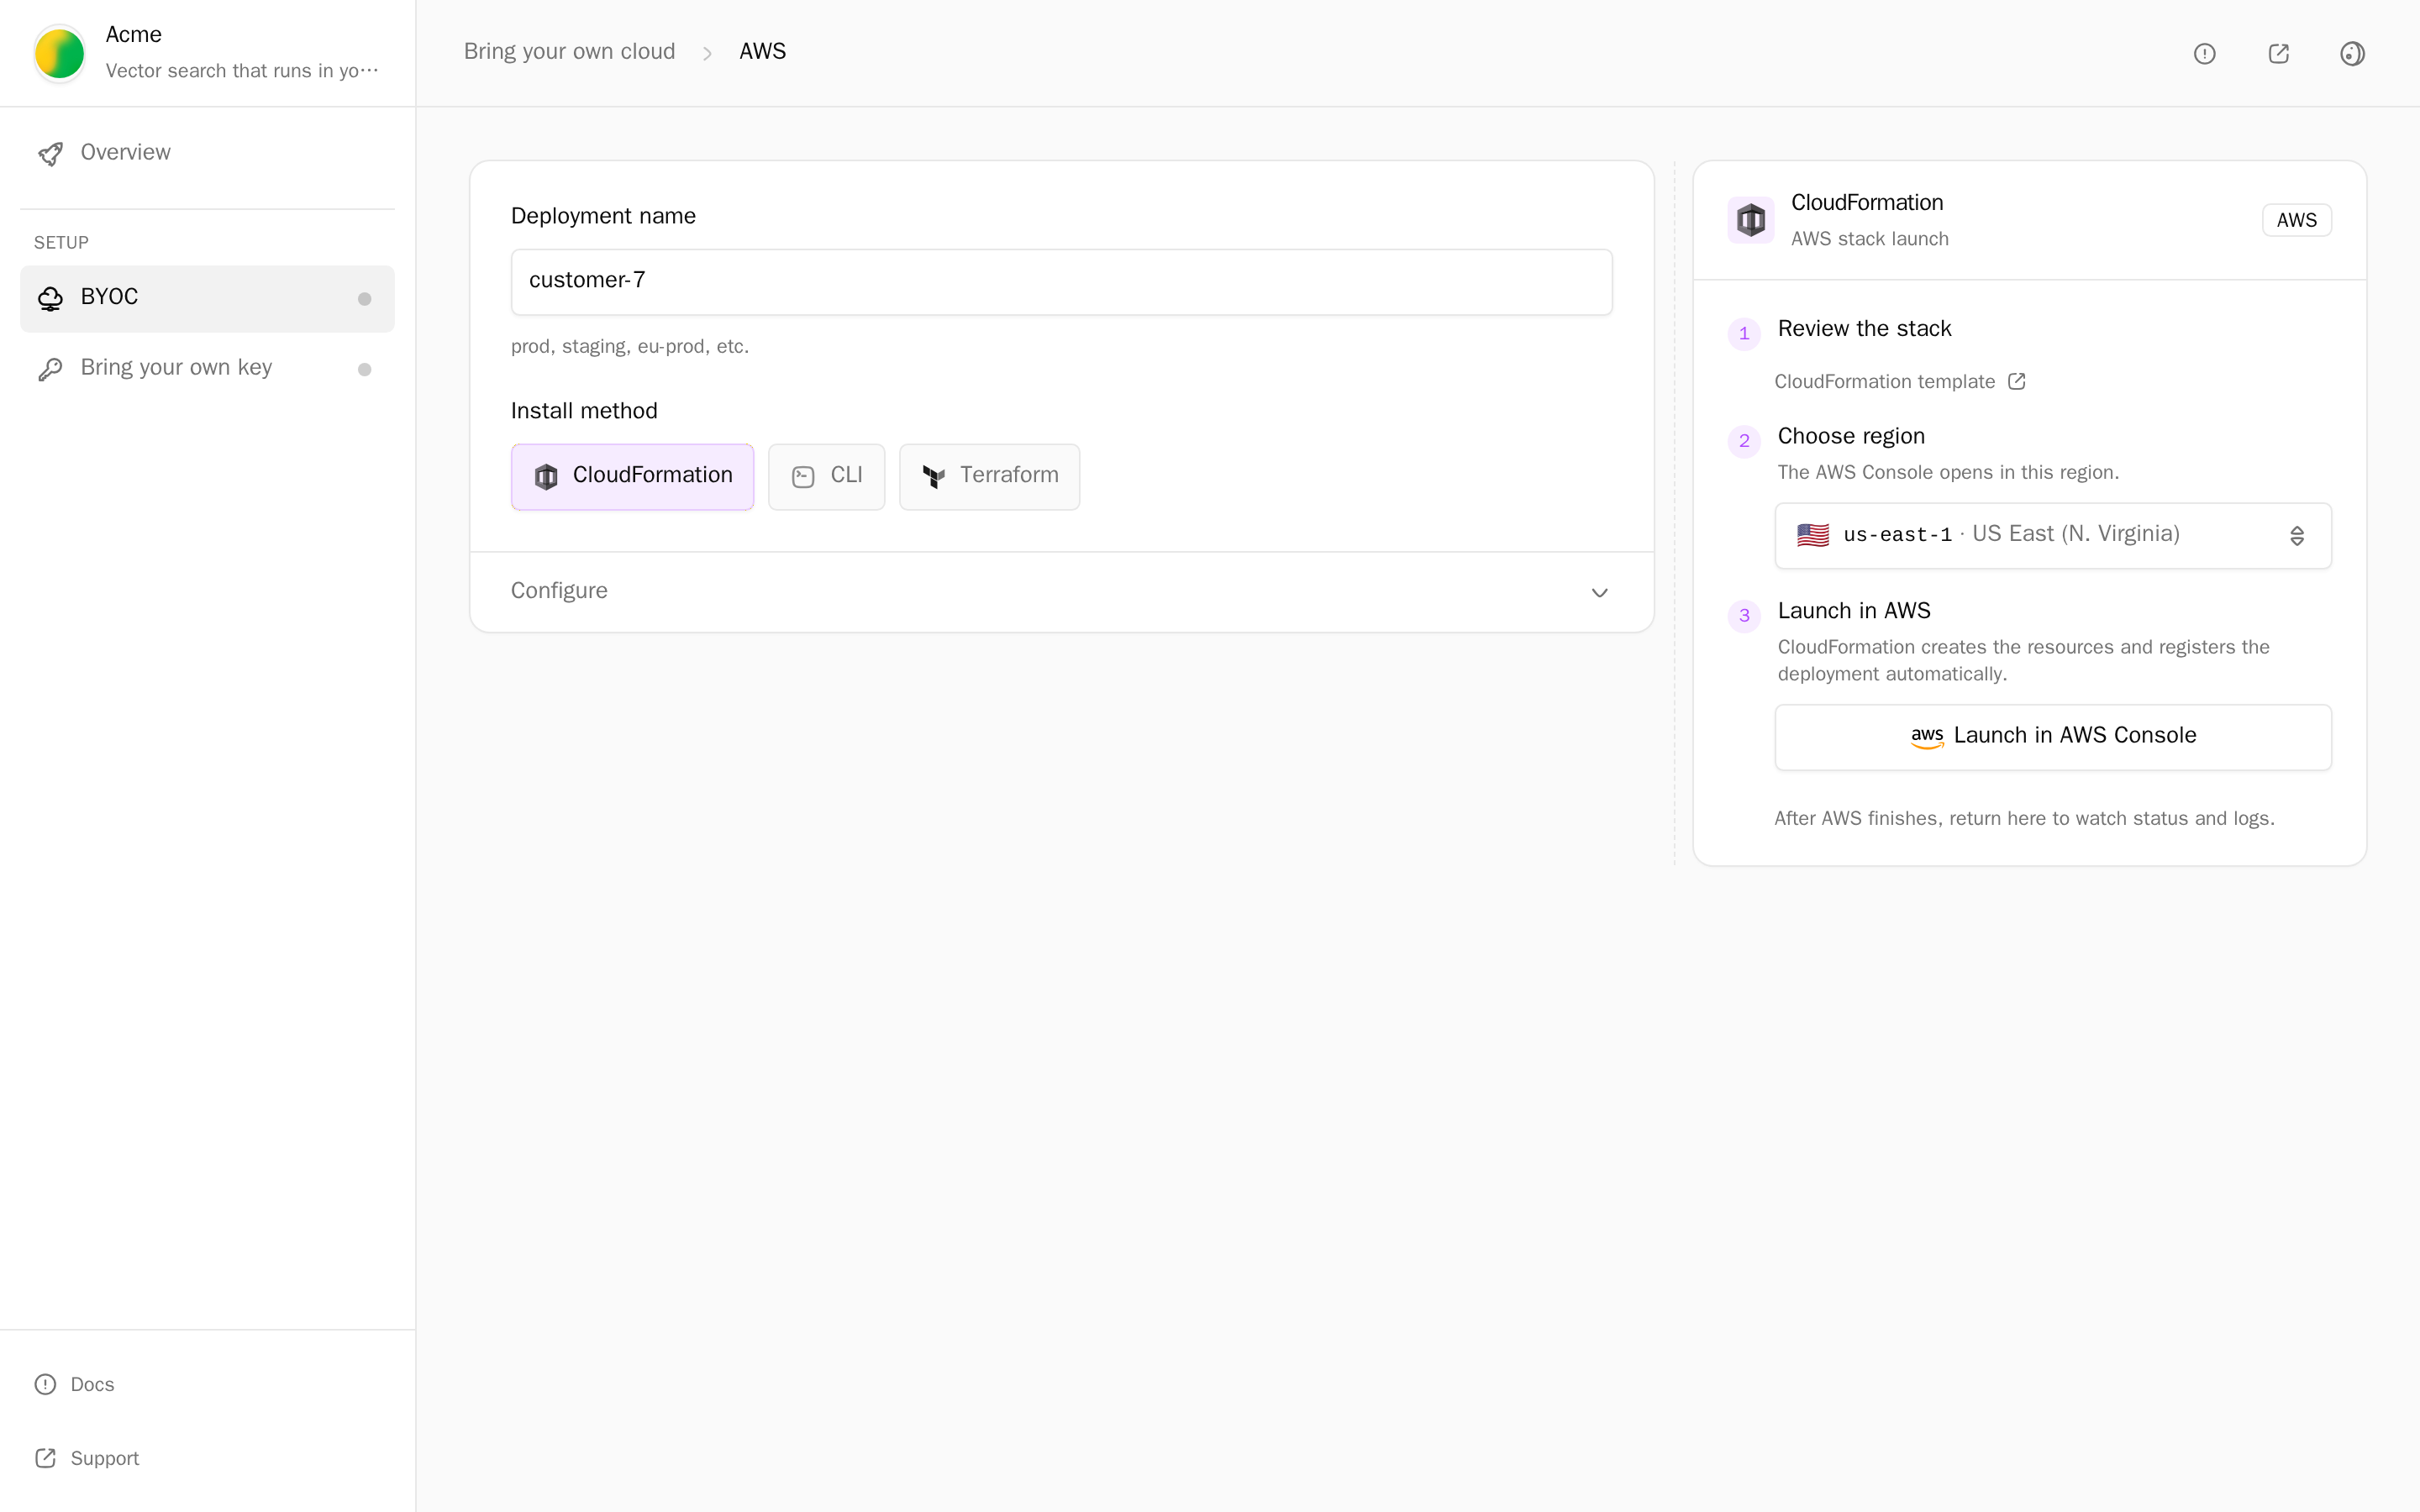
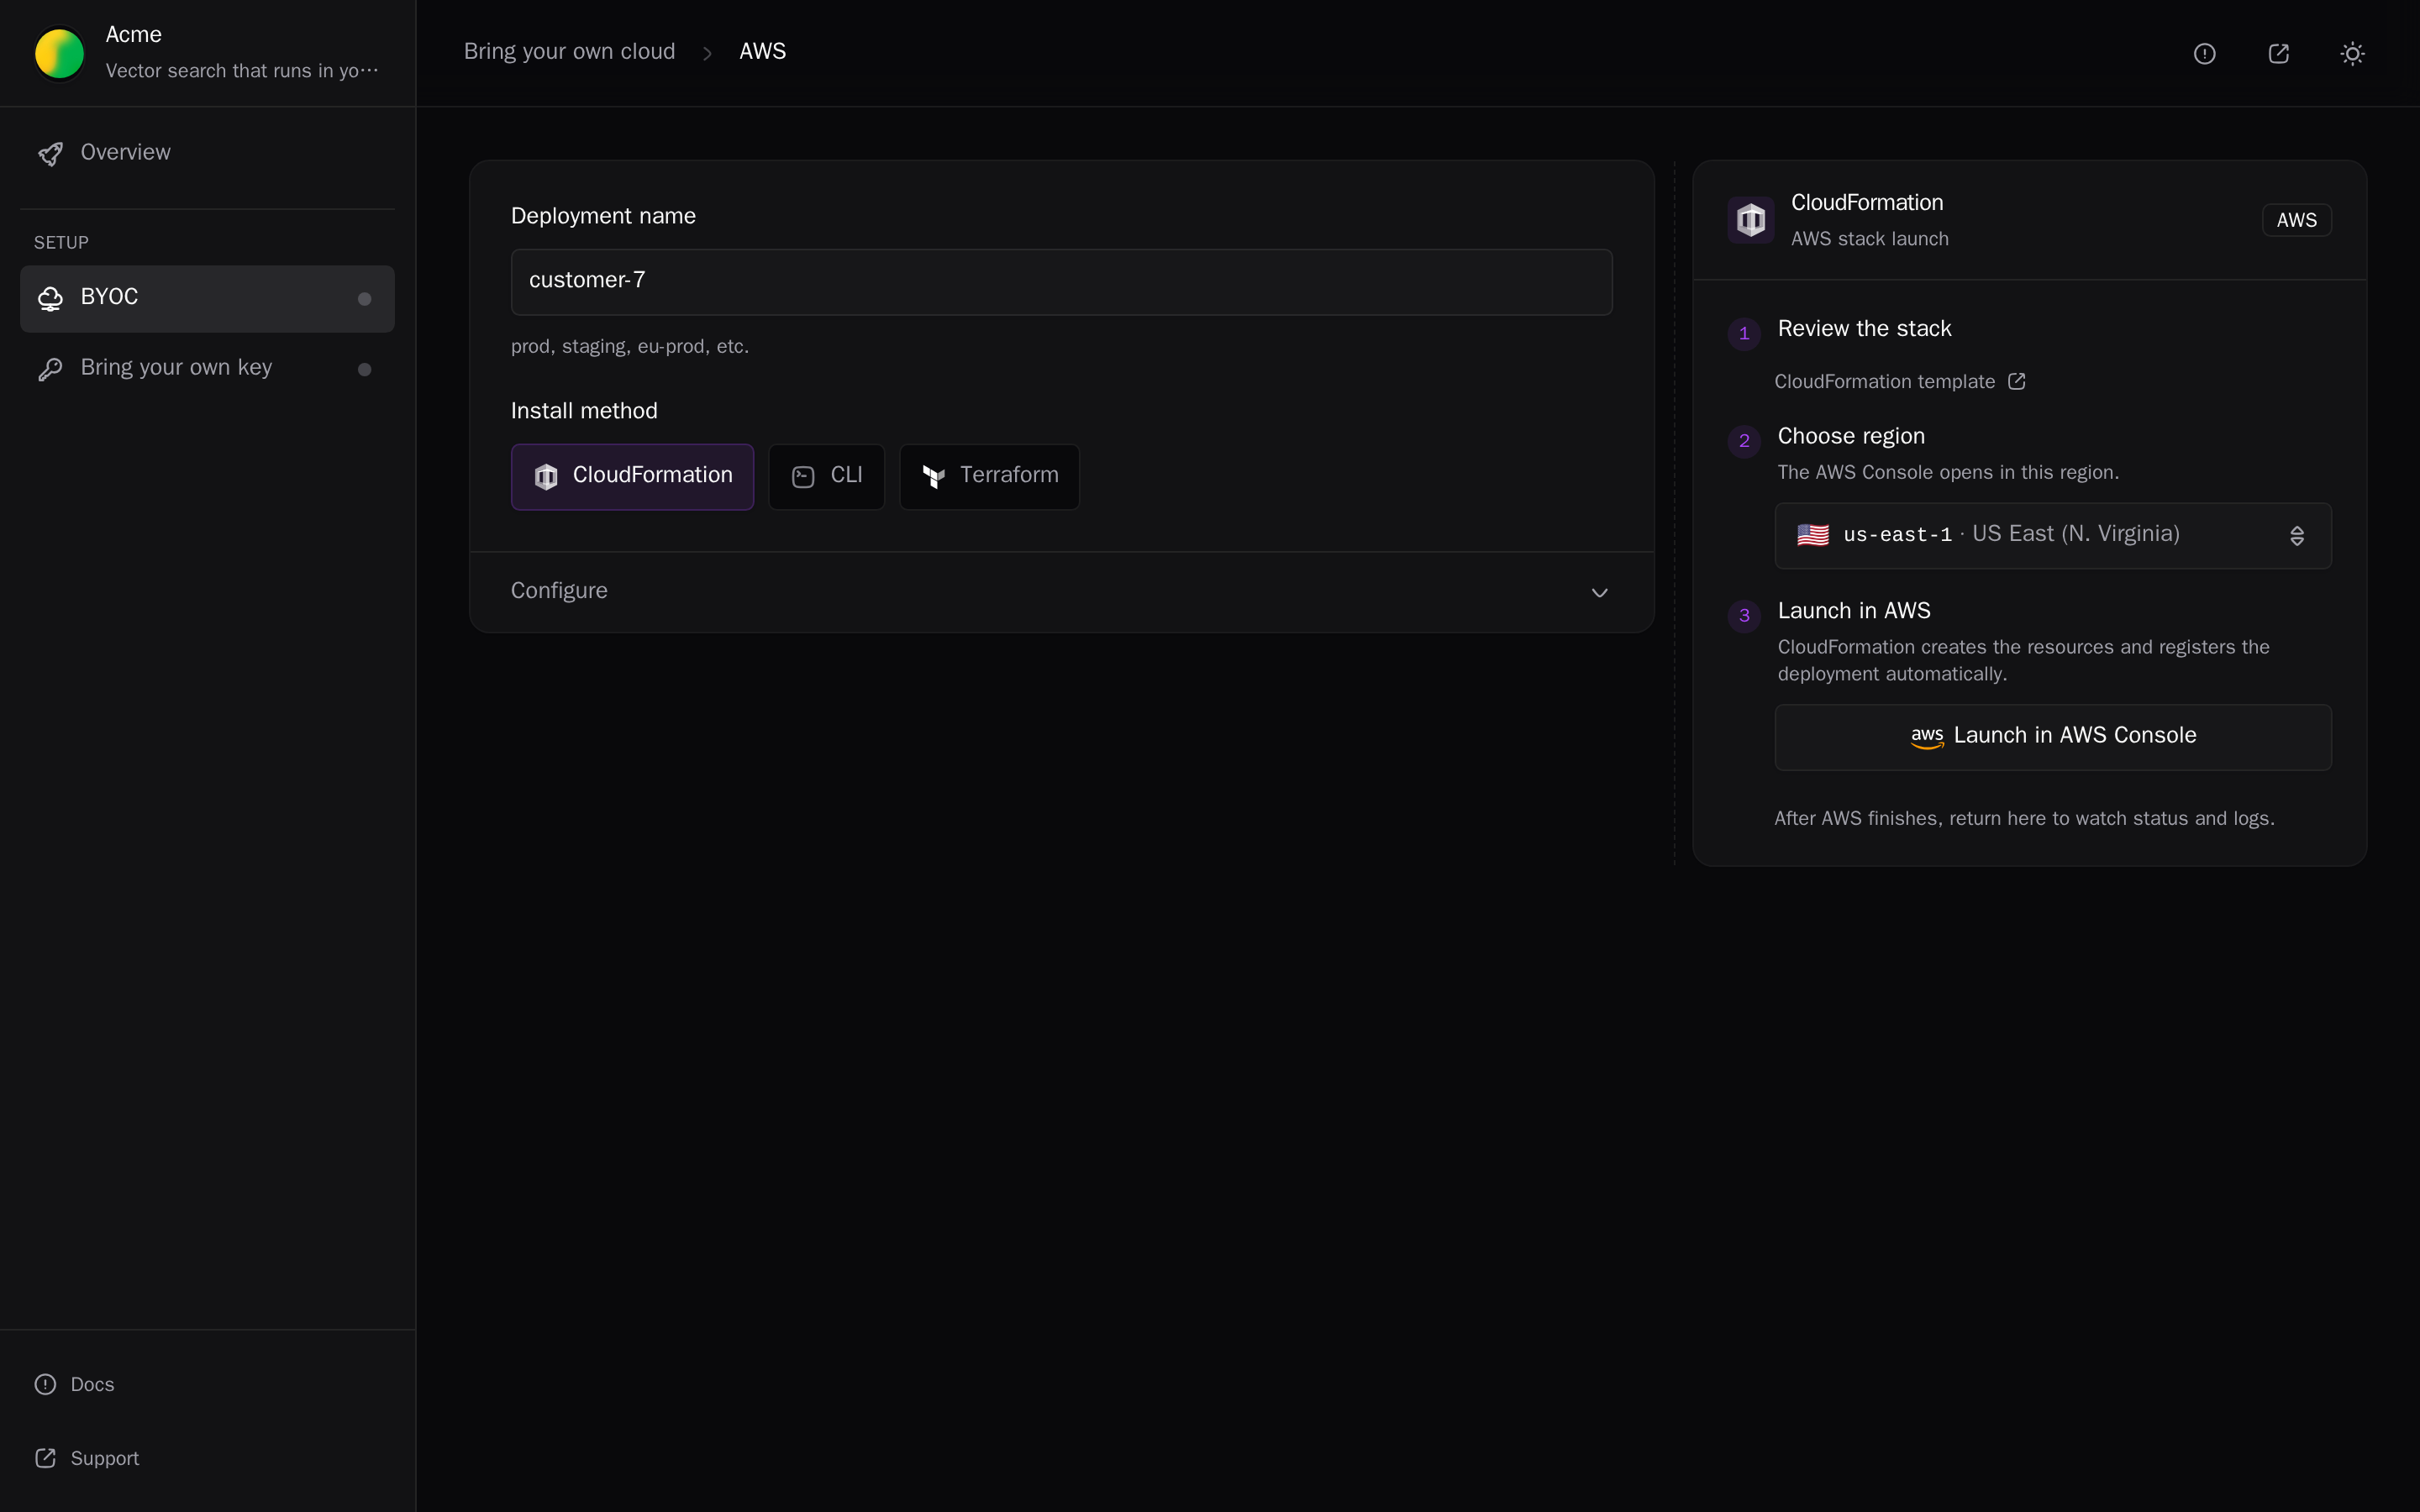
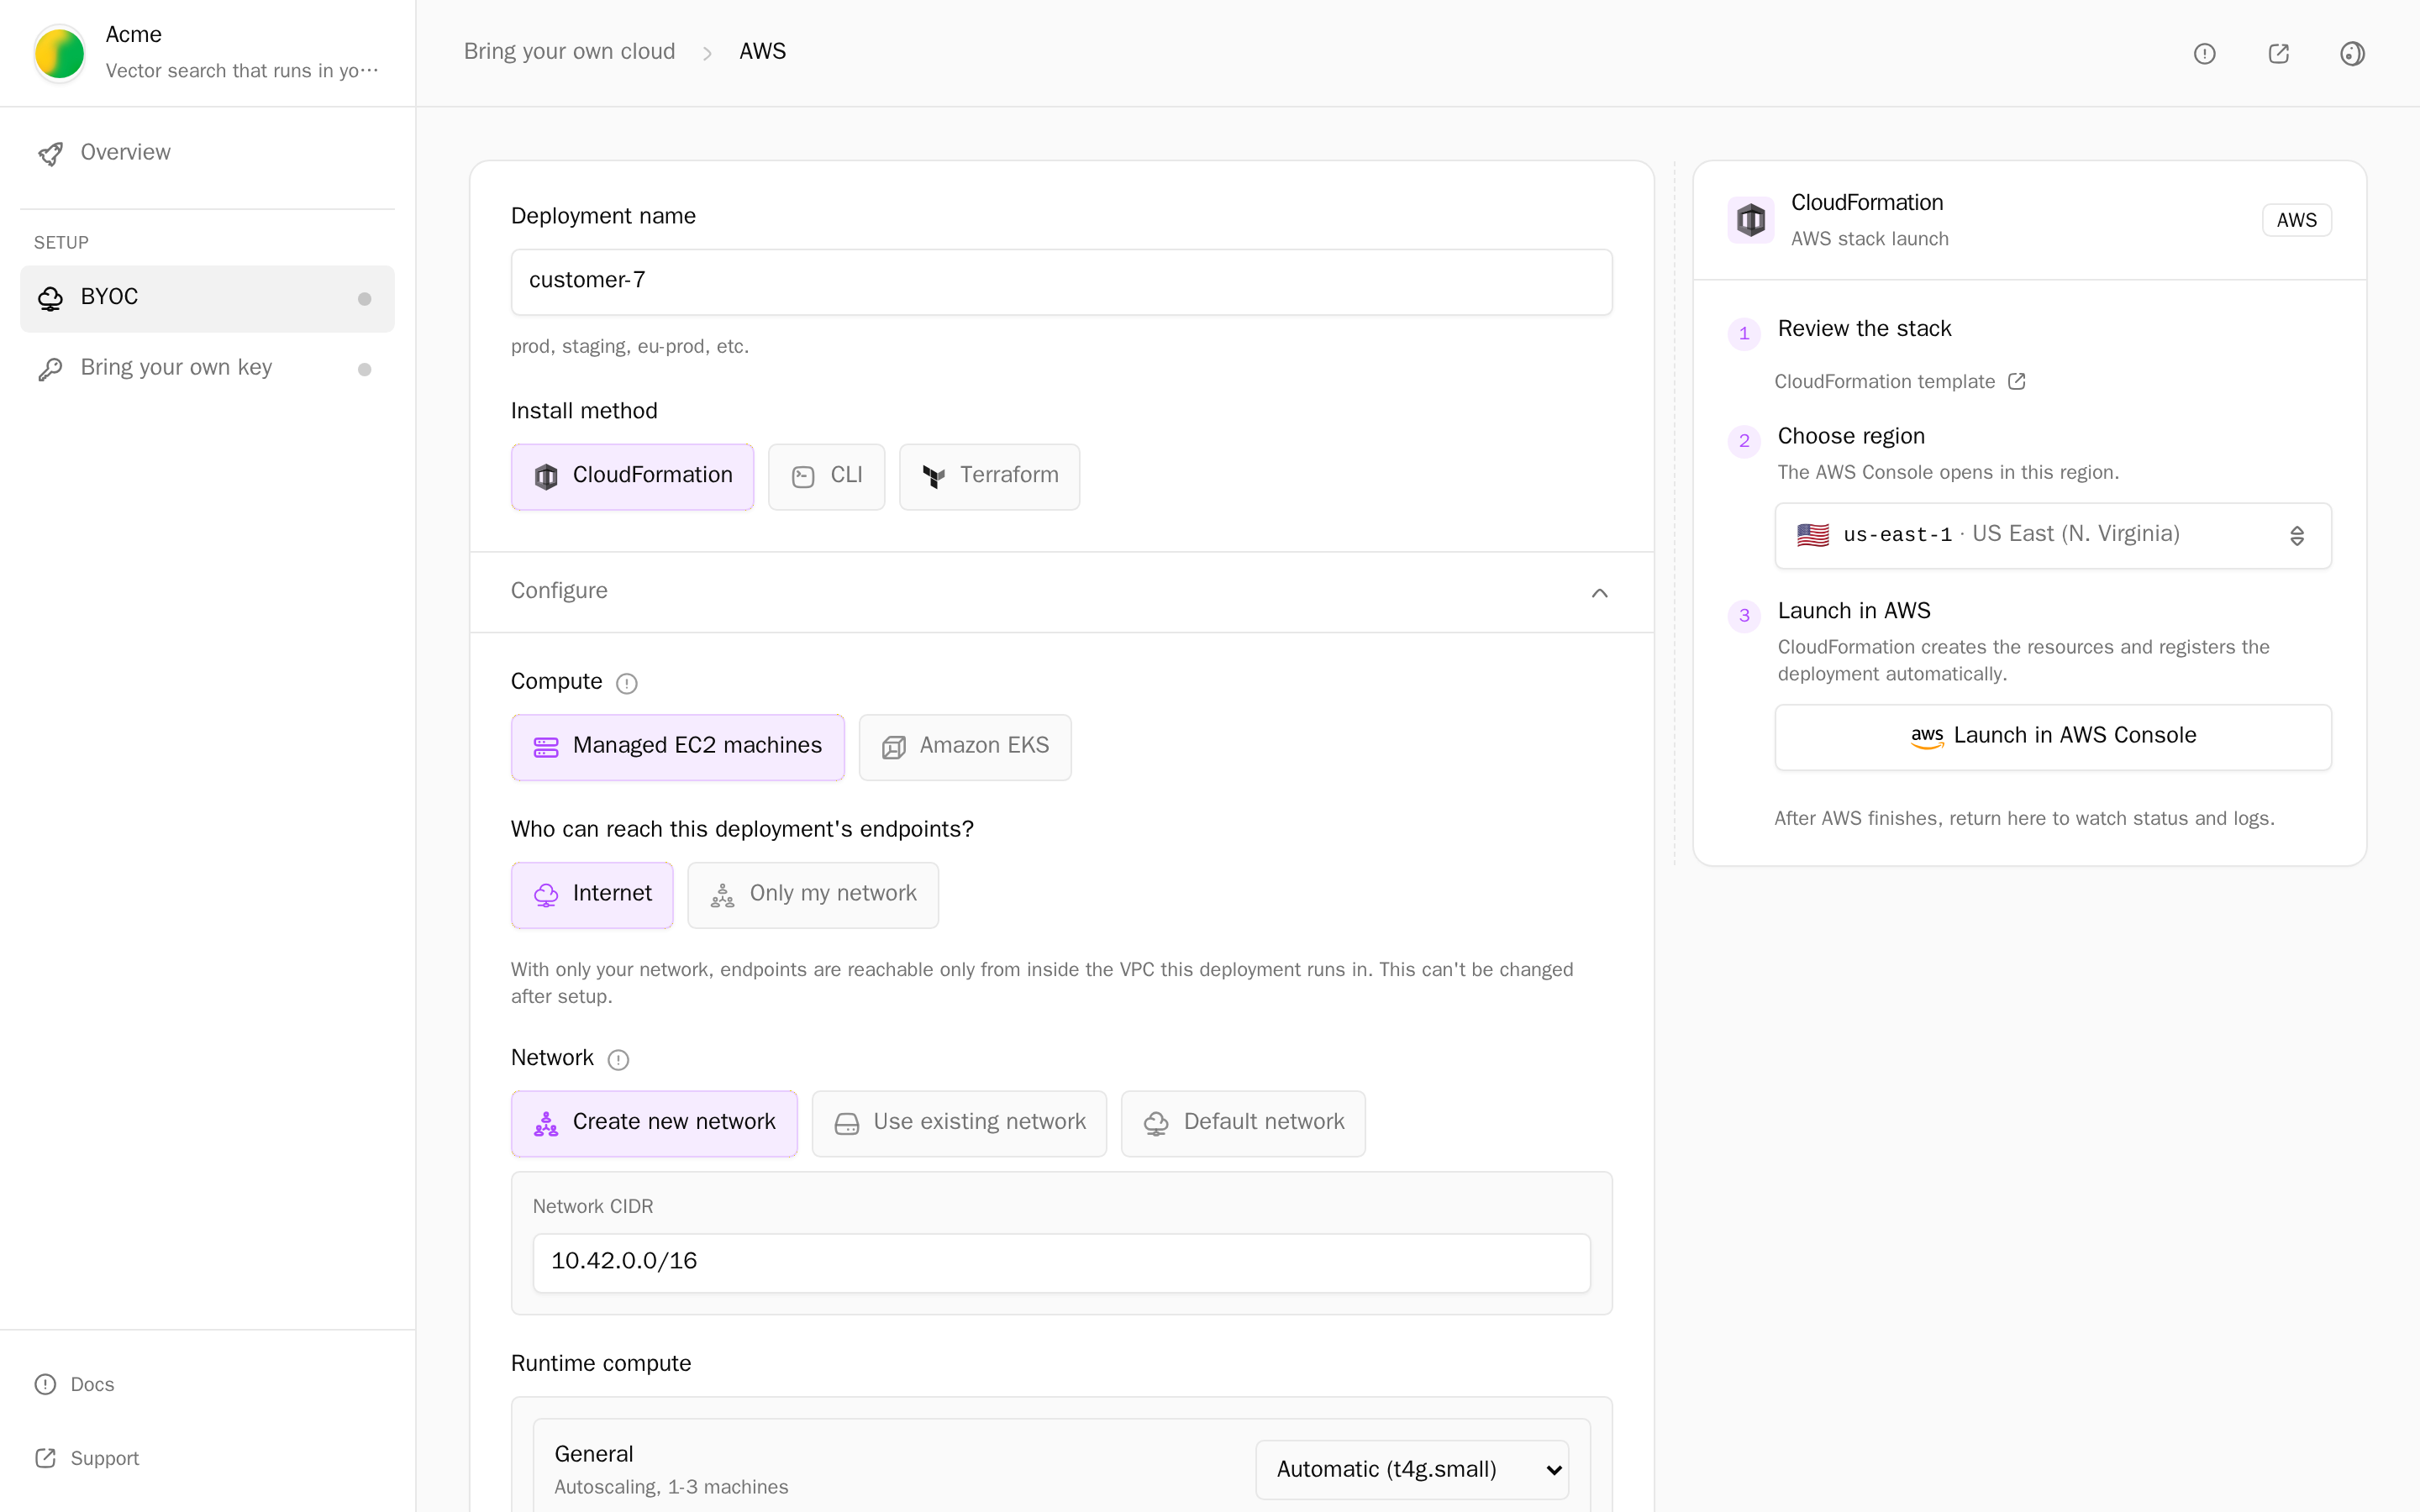
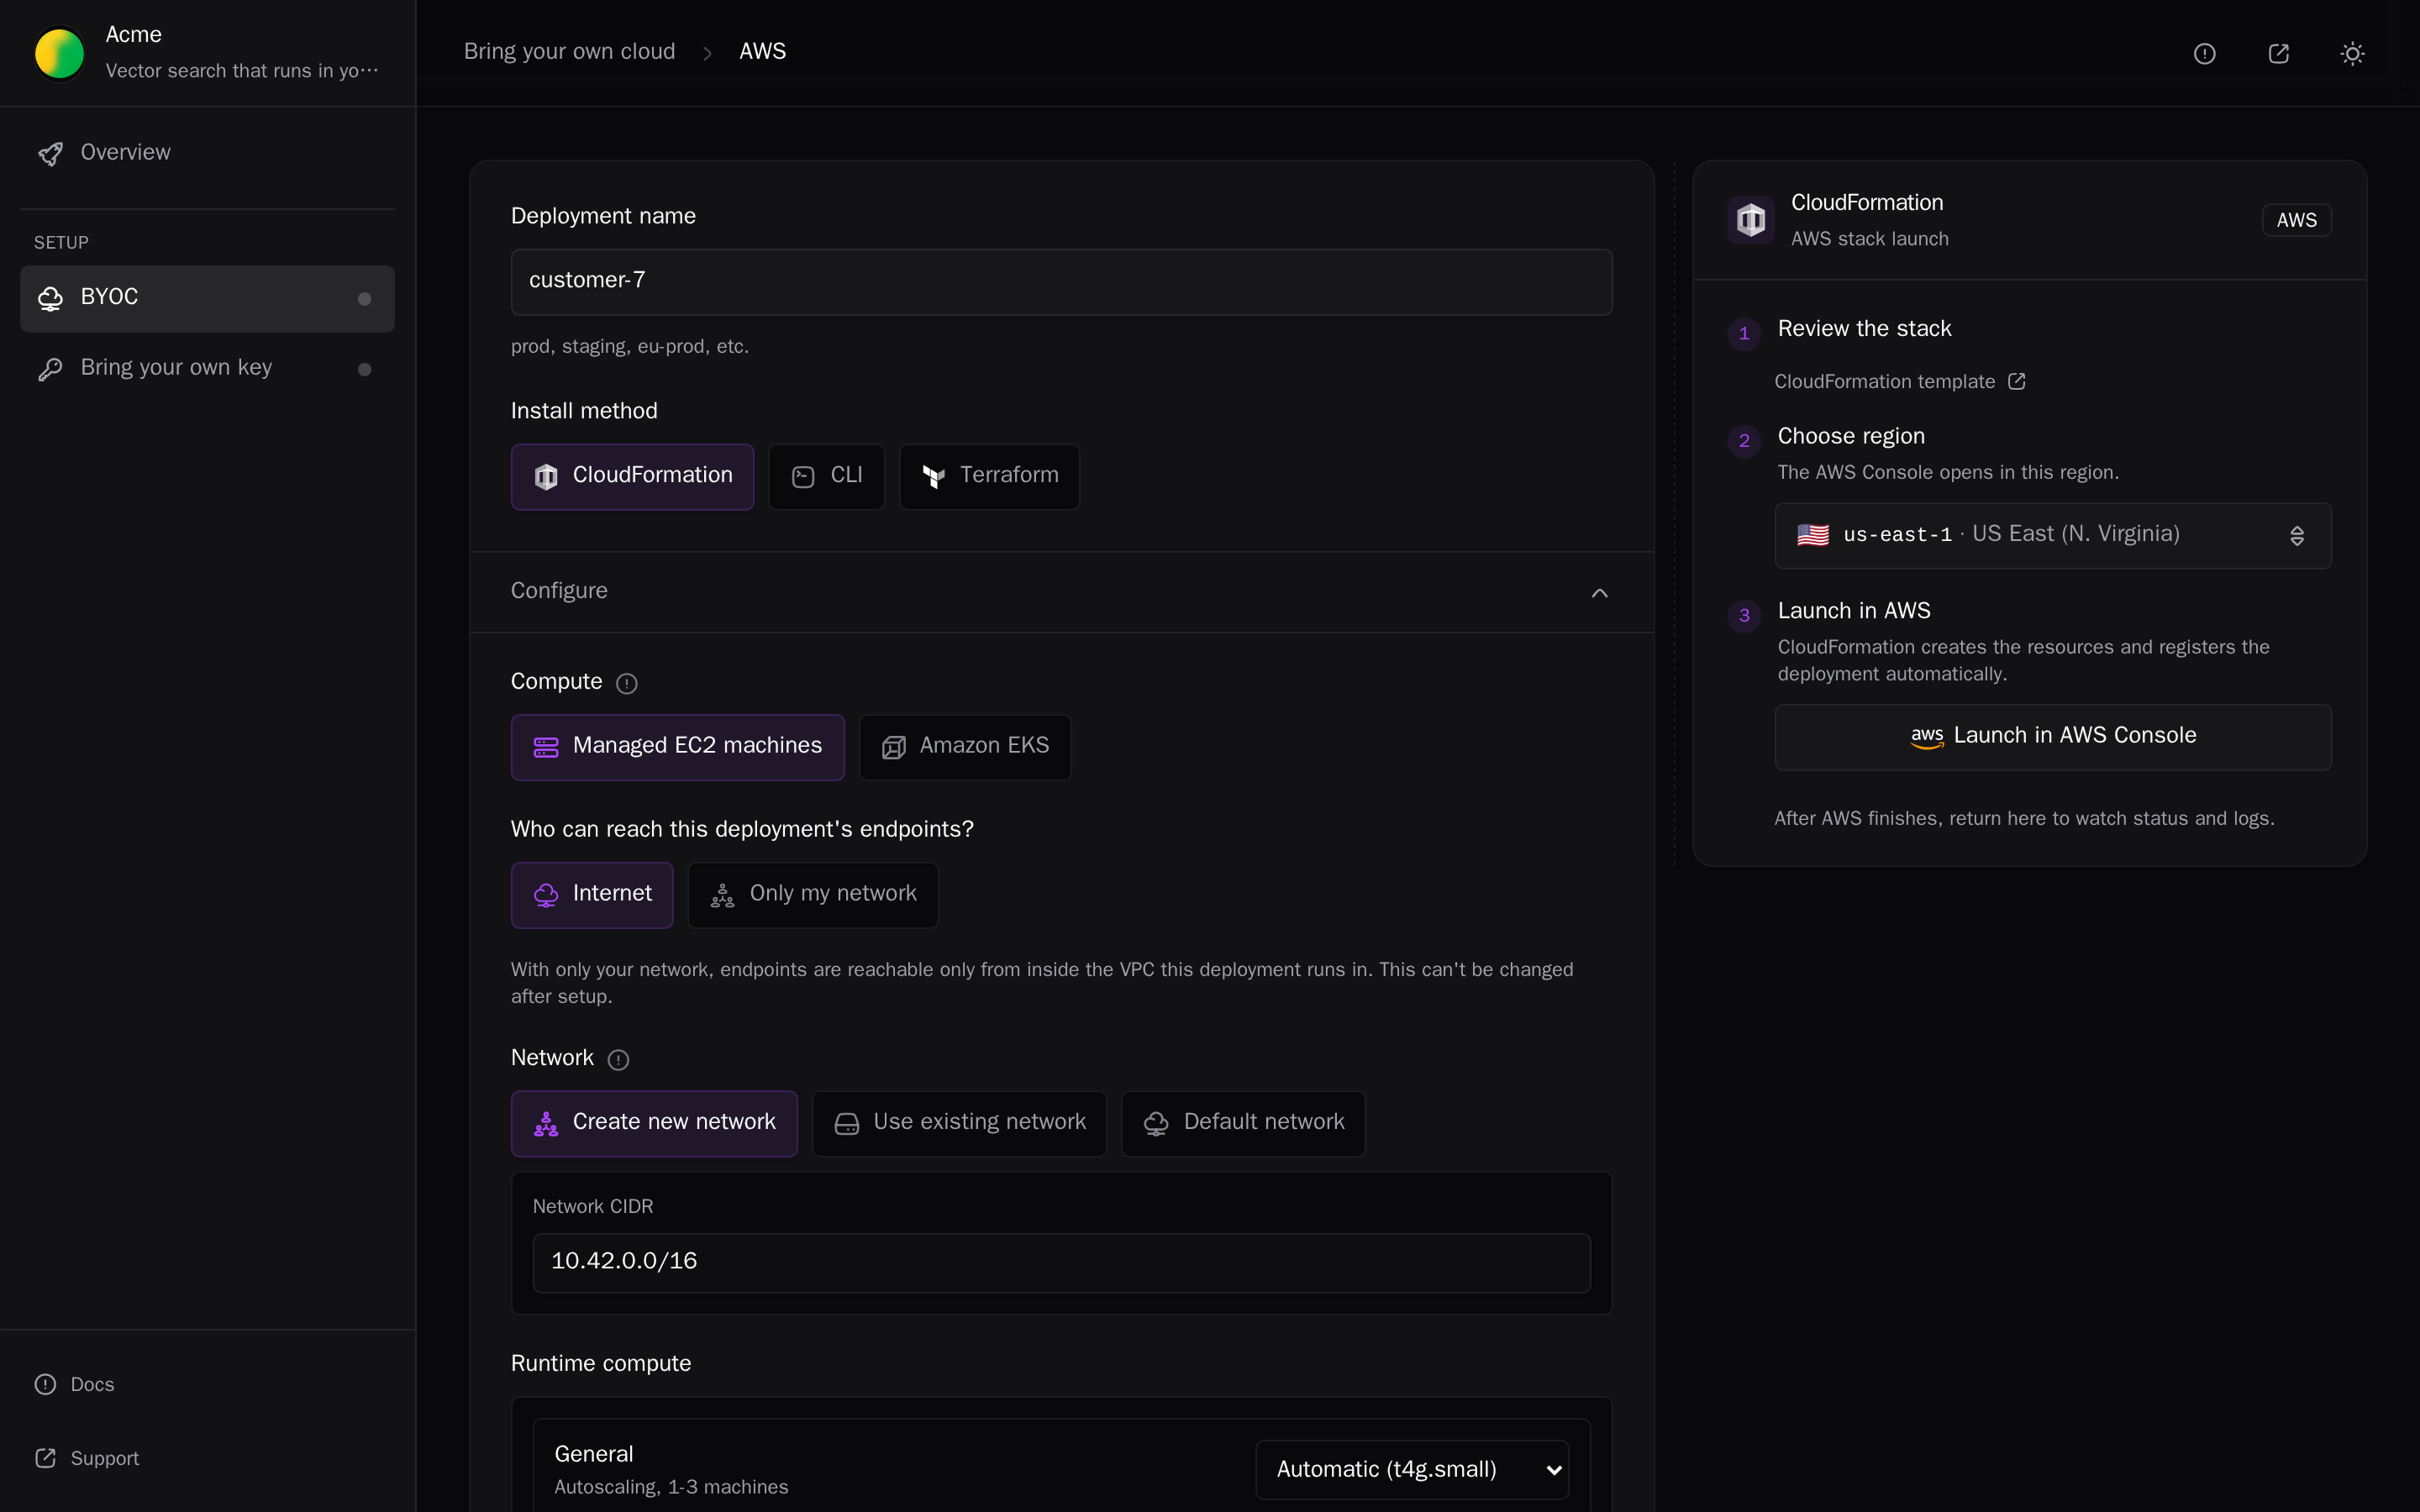
The new-deployment form asks for:
- Deployment name: defaults to the customer's group name, for example
customer-1. - Platform: AWS, Google Cloud, Azure, On-Prem, or Local. A platform your stack doesn't target is disabled.
- Install method: the setup methods for that platform. See Setup methods.
- Setup inputs: the deployer-provided inputs in your stack. Secrets the admin provides are written to their own secret store after initial setup, never typed into the portal.
Configure holds optional choices, shown only when they apply:
- Compute: managed compute (for example Lambda or Managed EC2 machines), or a Kubernetes cluster (Amazon EKS, Google Kubernetes Engine, Azure Kubernetes Service). On On-Prem: Your machines or Kubernetes.
- Cluster source: create a new cluster or use an existing one.
- Network: Create new network, Use existing network (VPC and subnet IDs), or Default network.
- Who can reach this deployment's endpoints?: Internet or Only my network (AWS). It can't change after initial setup.
- Sizes per container and machine pool, and a Telemetry switch when the link allows a choice.
To offer named sizes and a network choice, see Sizes and networks.
Setup methods
| Platform | Methods (default first) |
|---|---|
| AWS | CloudFormation, Terraform, CLI |
| Google Cloud | Google Login, Terraform, CLI |
| Azure | Terraform, CLI |
| Kubernetes on a new EKS cluster | CloudFormation, Terraform |
| Kubernetes on a new GKE or AKS cluster, or an existing EKS, GKE, or AKS cluster | Terraform |
| On-Prem → Kubernetes | Helm |
| On-Prem → Your machines | A join command |
CloudFormation
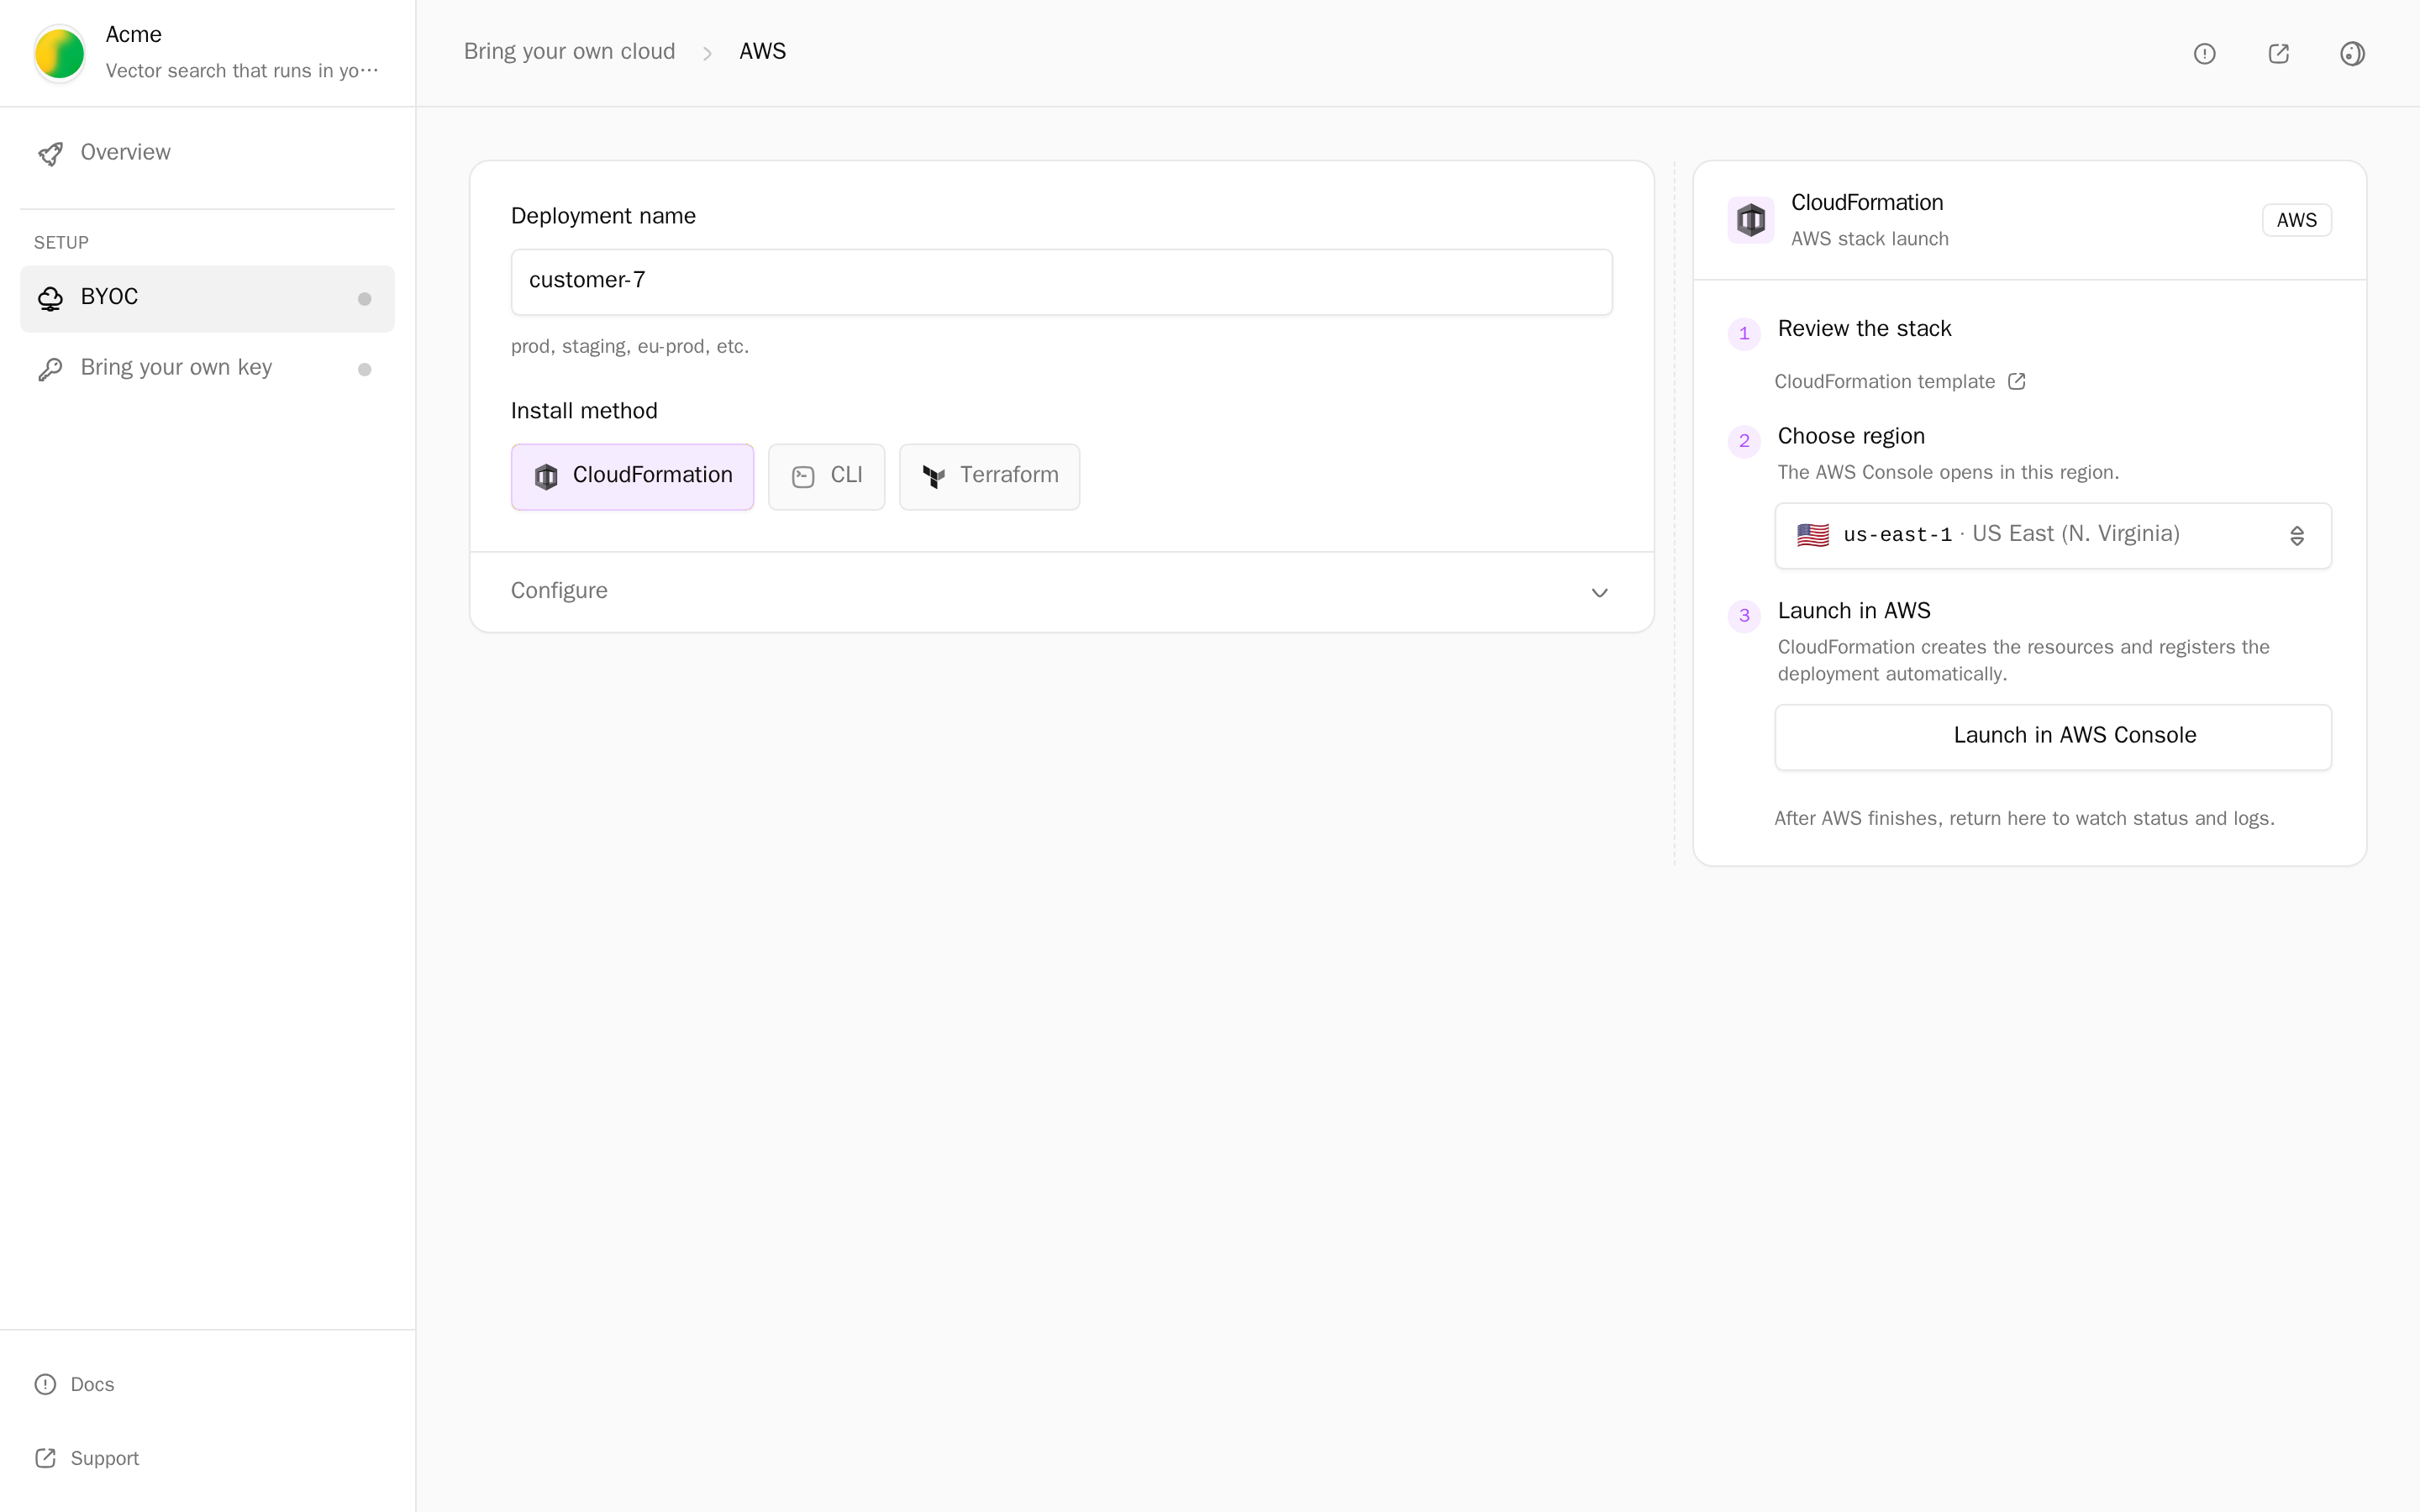
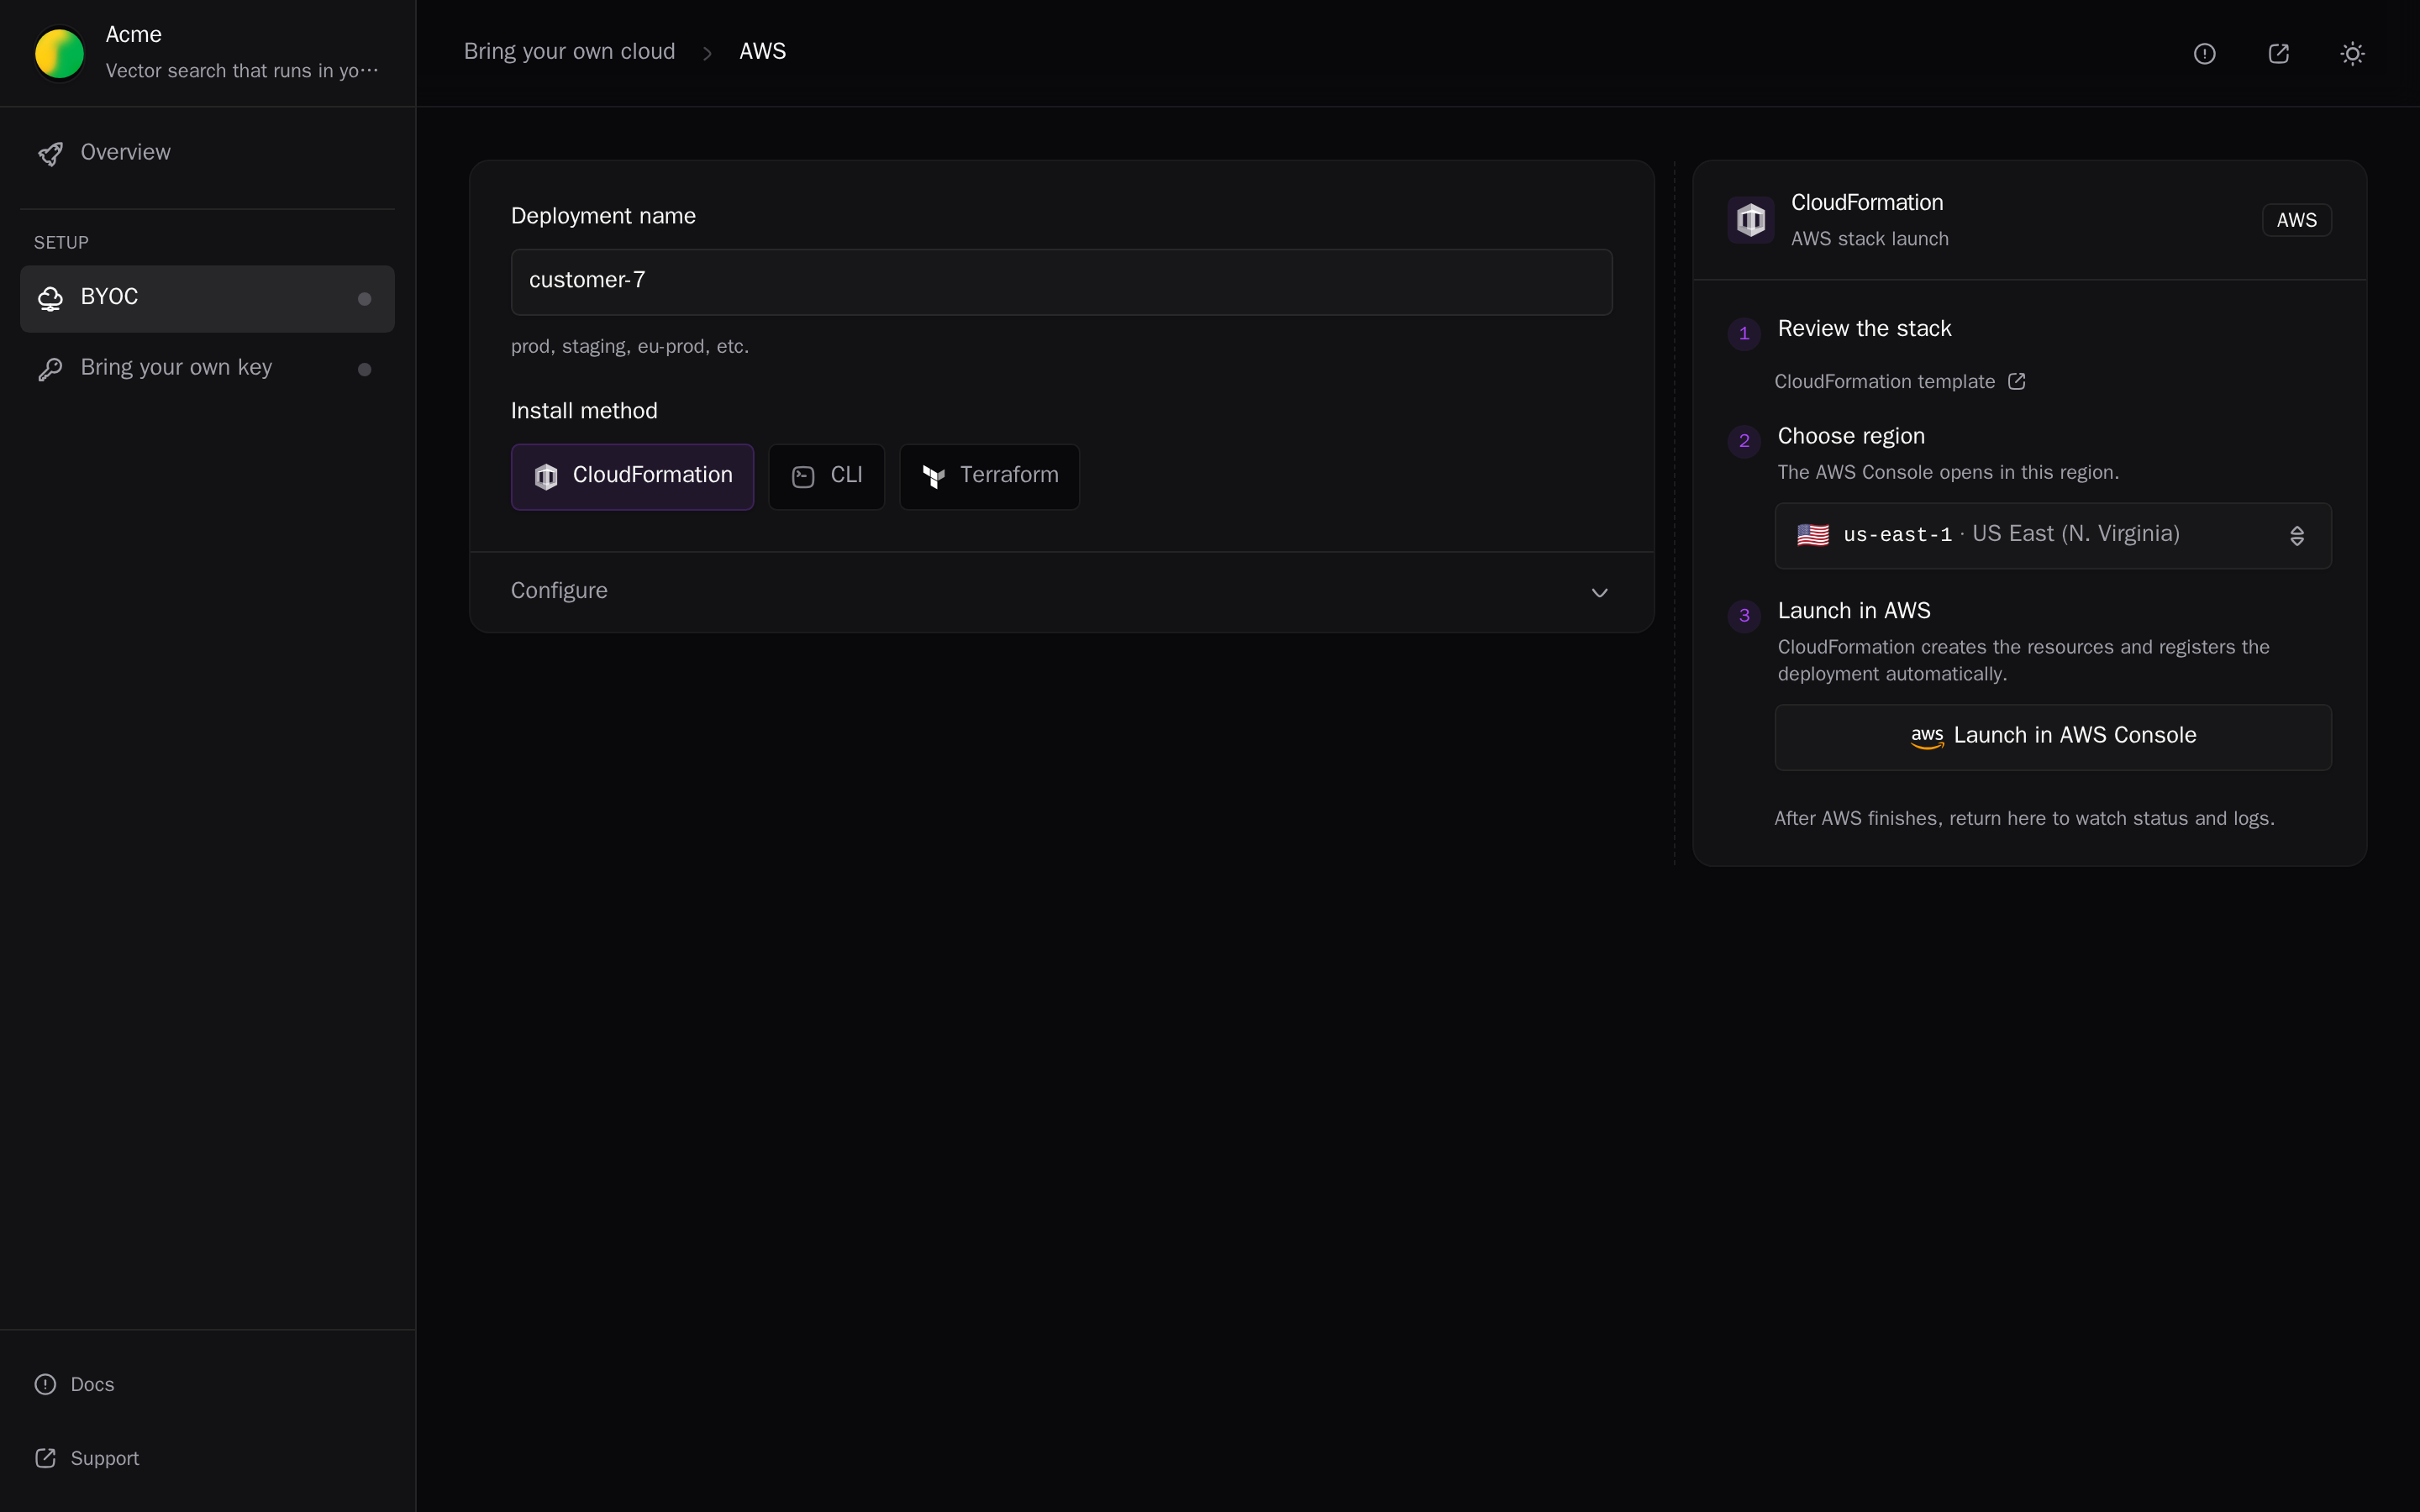
- Review the stack: the CloudFormation template link, and Copy External ID for an admin who launches the template file by hand.
- Choose region: the AWS Console opens in this region.
- Launch in AWS: Launch in AWS Console opens CloudFormation's quick-create page with every parameter filled in. The admin acknowledges that the stack creates IAM resources and creates it.
The portal names the stack a<8 hex characters>-<deployment name>, cut to 35 characters. It shows <stack name> · <region> with a View stack in AWS link. The deployment registers itself when the stack finishes. See AWS.
Google Login
- Connect Google Cloud: Continue with Google, with an account that can create service accounts, IAM bindings, APIs, and resources.
- Choose project: from a list, or Enter project ID manually.
- Choose region.
- Start deployment.
Alien uses the admin's Google token for this one initial setup and then discards it. See Google Cloud.
Terraform
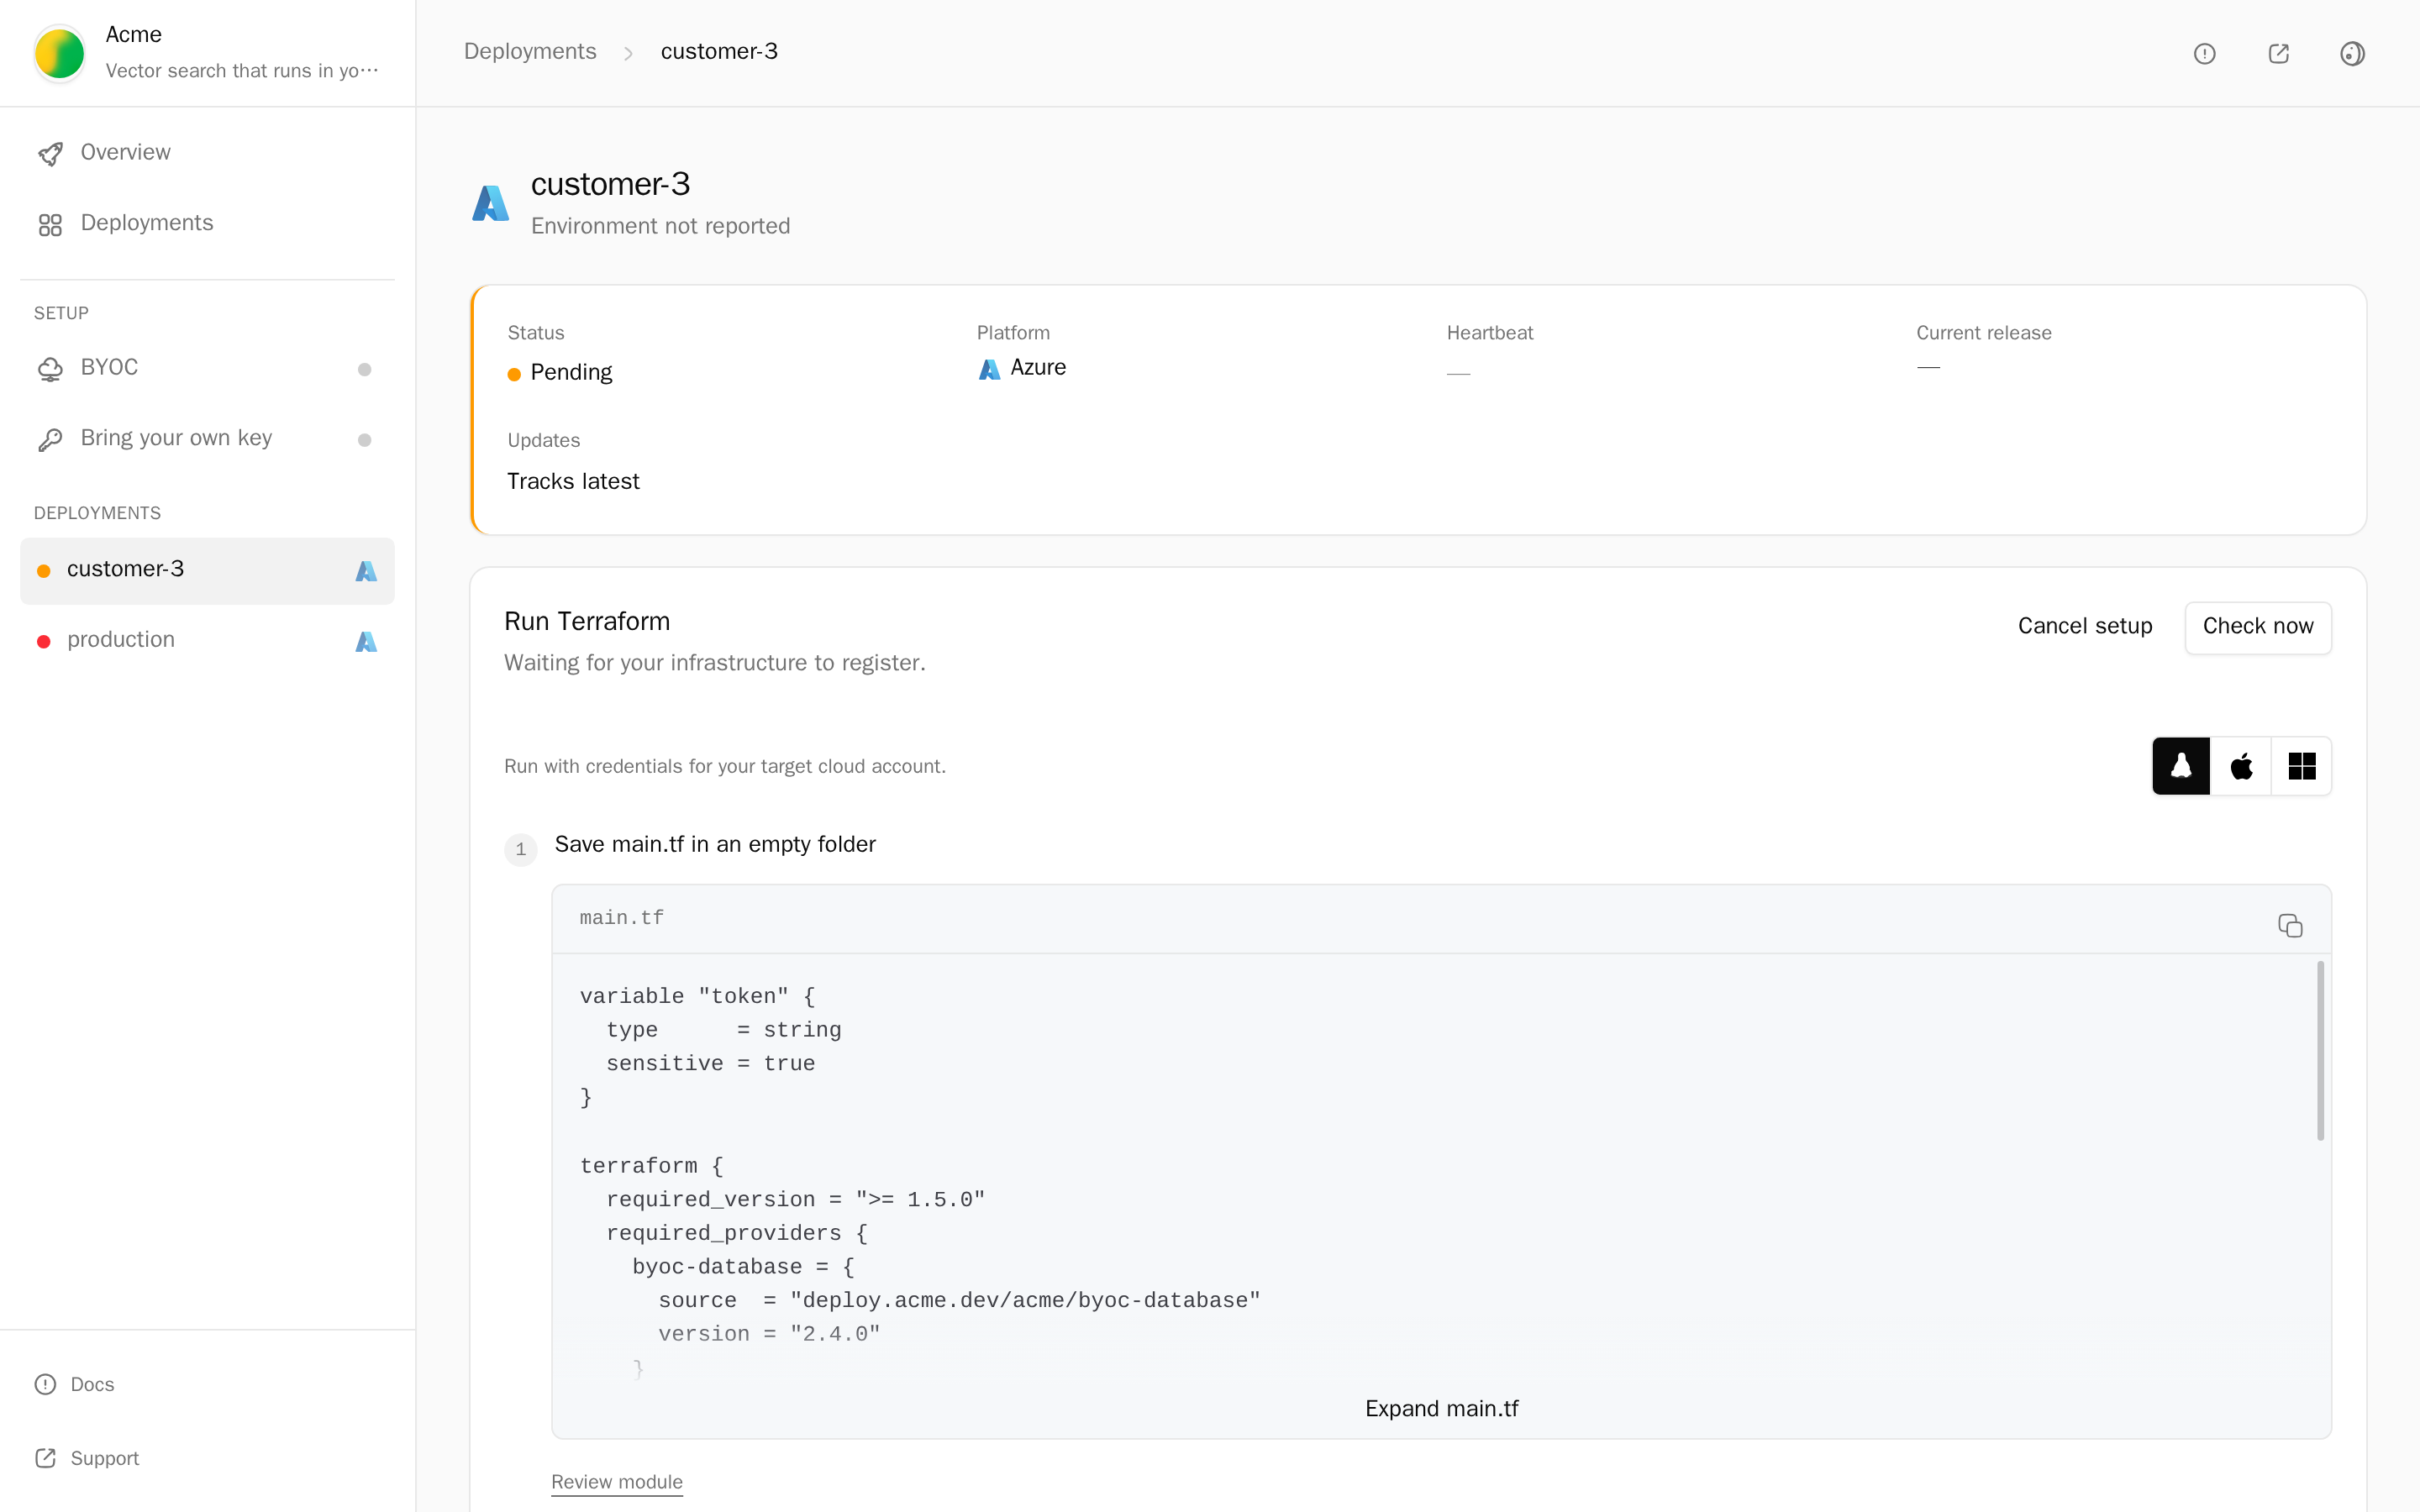
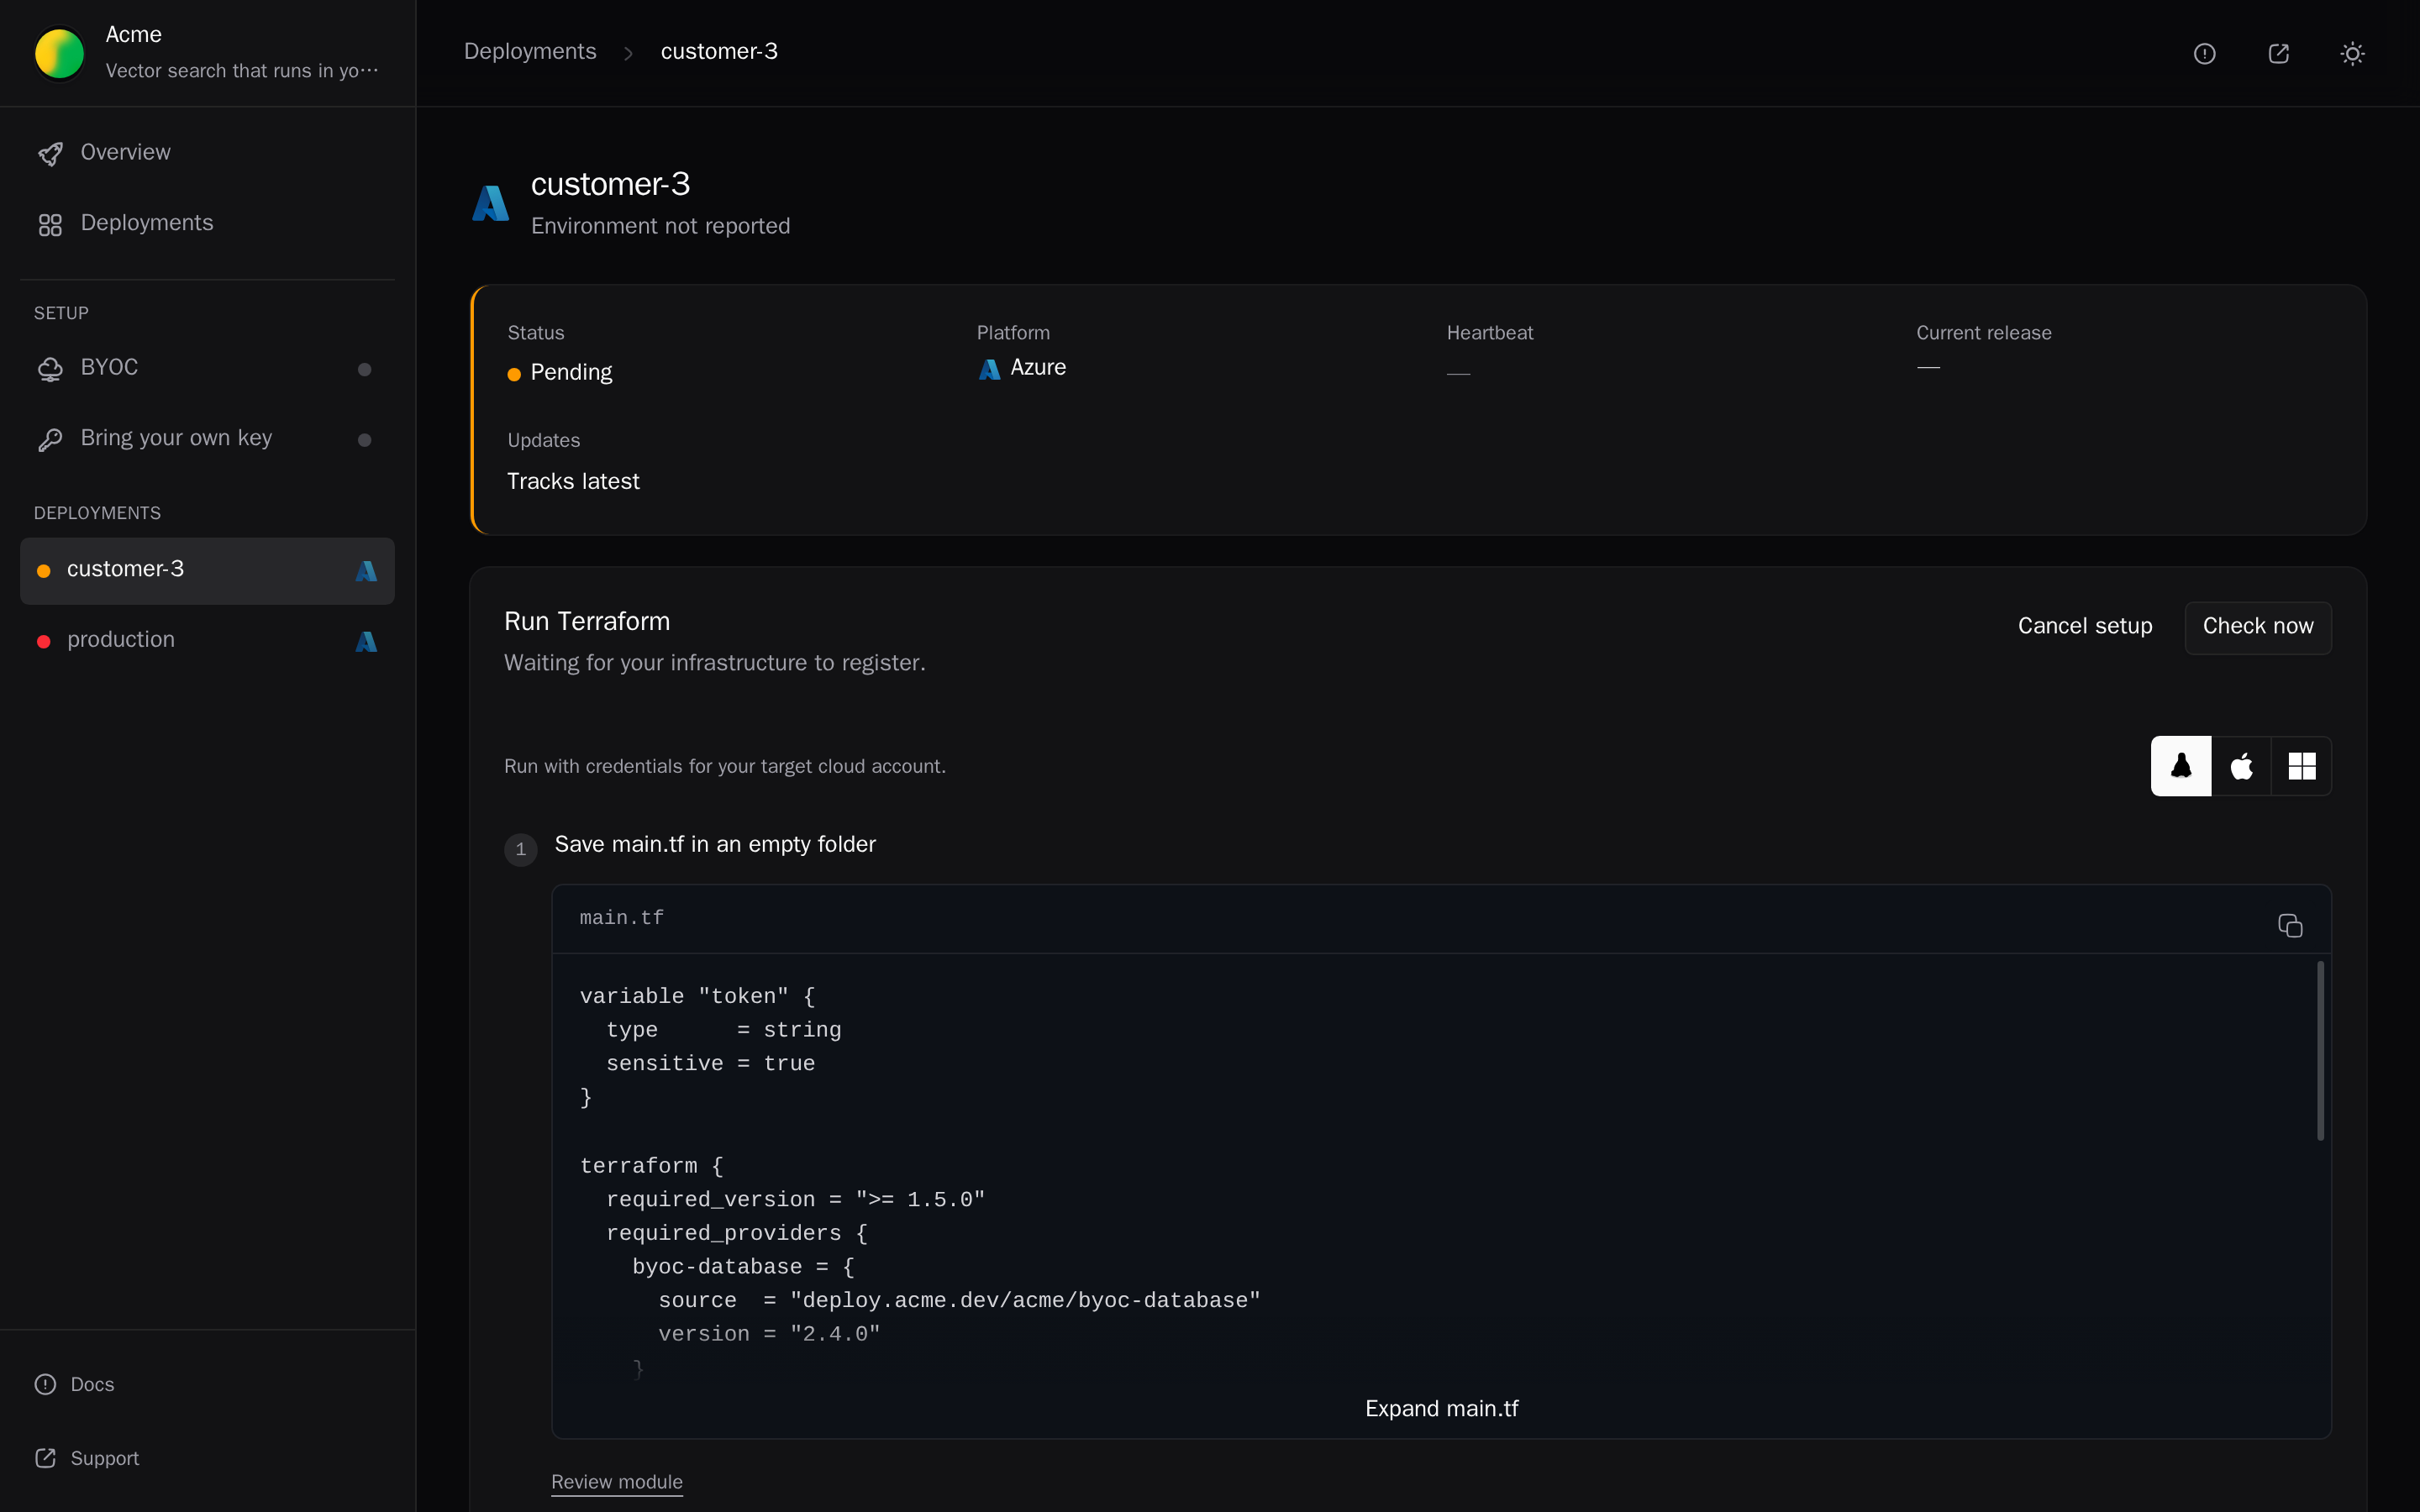
The admin clicks Prepare Terraform. The portal then shows Run Terraform:
- Save main.tf in an empty folder, and replace placeholders such as
<gcp-project-id>. - Set your setup token:
export TF_VAR_token=..., and on AWSTF_VAR_management_external_id. - Apply in that folder:
terraform init && terraform apply.
The module comes from your package registry. See Setup packages.
CLI
Offered on AWS, Google Cloud, and Azure:
- Install CLI on a machine with access to the target account.
- Configure: save the generated
deployment.toml. - Deploy to AWS (or Google Cloud, Azure):
export ACMECTL_DEPLOYMENT_TOKEN='<token>'
acmectl deploy --config deployment.toml
acmectl is your setup CLI's command name.
Helm
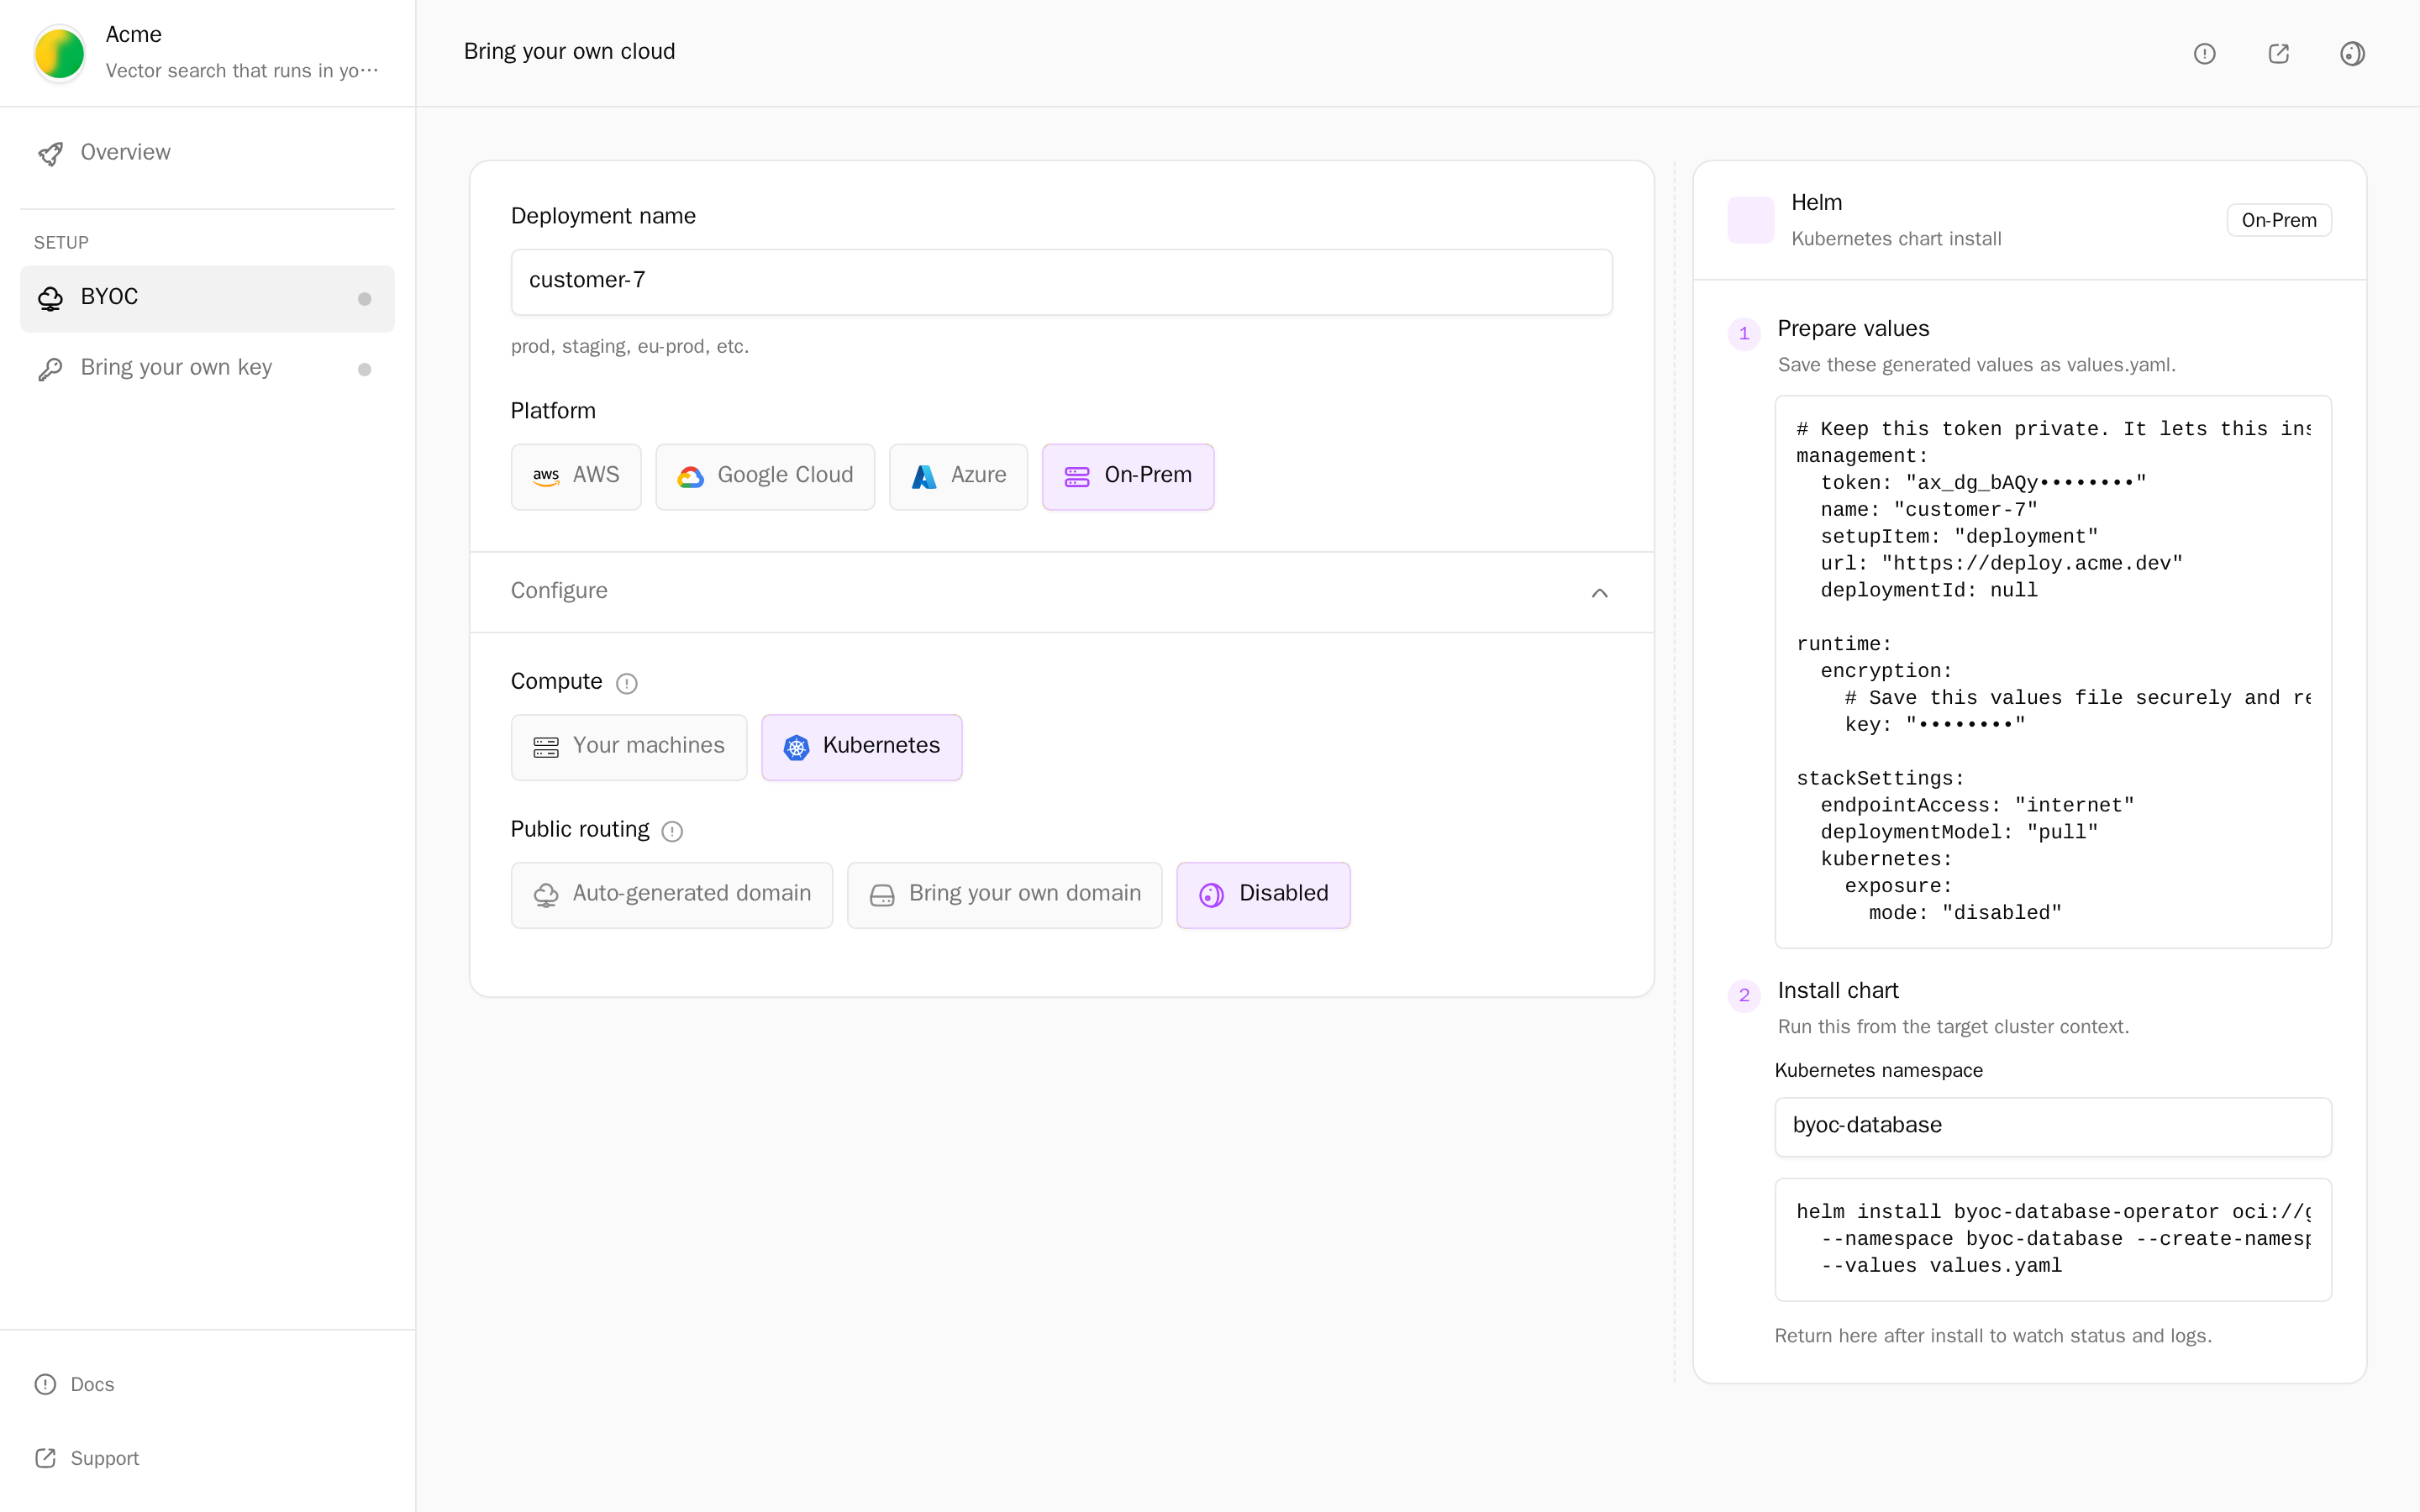
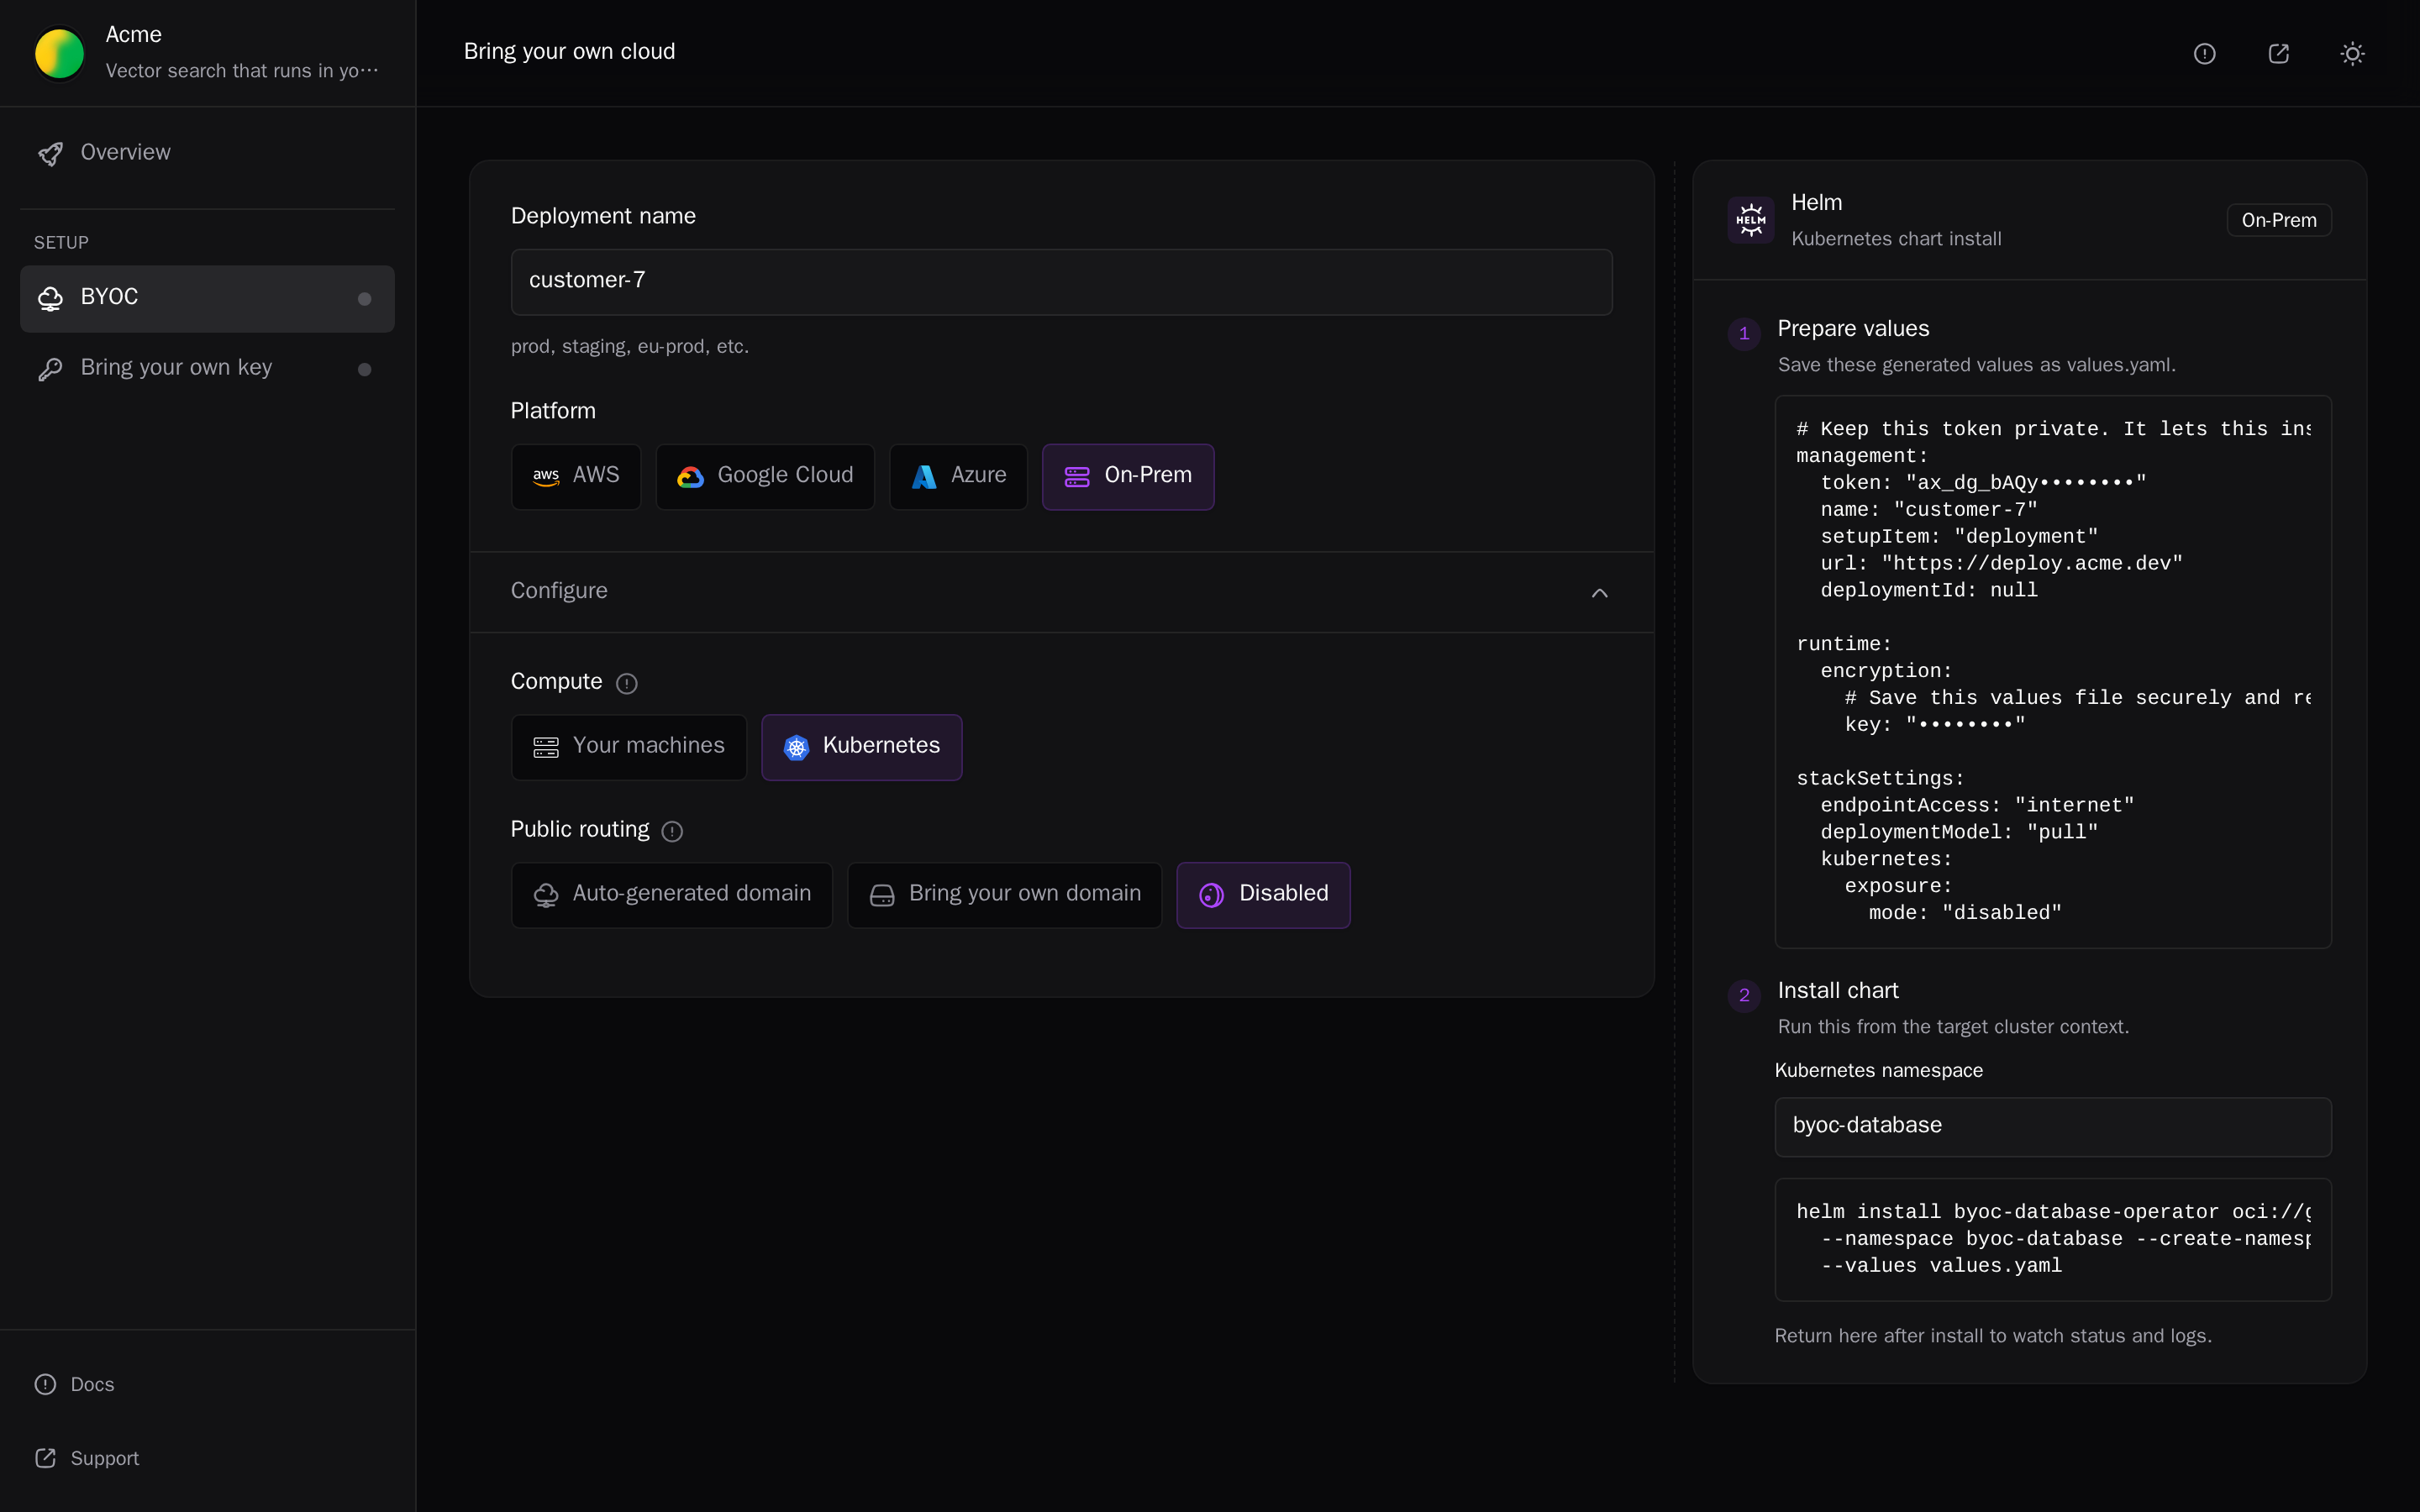
- Prepare values: save the generated
values.yaml. It registers the deployment, and the admin reuses it for everyhelm upgrade. - Install chart: set the Kubernetes namespace and run the command from the target cluster's context.
See Kubernetes.
Your machines
Set up machines, then Connect machines shows a join command to run on each Linux host. See Linux servers.
While initial setup runs
As soon as the admin starts initial setup, the portal opens the deployment's page. Until the stack or Terraform run registers, a panel says Finish in AWS or Run Terraform, with Waiting for your stack to register.
The admin can close the tab at any point. The deployment is already saved, and initial setup keeps running in their cloud. Opening the same link later brings them back to it:
- Reopen AWS reopens the CloudFormation page.
- Check now asks Alien to look for the registration again.
- Cancel setup drops an initial setup that hasn't reported back yet.
If the CloudFormation stack failed or rolled back, the panel shows Retry AWS setup. The admin deletes the failed stack in AWS, then starts initial setup again from the portal.
What the initial setup creates
- Frozen resources. The resources you mark
"frozen"inalien.ts, such as the bucket or database that holds the customer's data. Only the initial setup creates, changes, or deletes them. See Frozen and live resources. - A management identity. An IAM role on AWS, a service account with workload identity federation on Google Cloud, or a managed identity on Azure. It can create and update your live resources and nothing else. See AWS, Google Cloud, Azure.
- Workload identities. One role or service account per permission profile, so your code reaches only the resources it links to.
- The registration. Initial setup reports the deployment to Alien, which then creates the live resources and starts the workloads.
On Kubernetes and Linux servers, initial setup deploys an agent that pulls updates instead of a management identity: the Operator in the cluster, or the machine agent on each host. See Kubernetes and Linux servers.
Before it creates anything, initial setup checks the cloud's service quotas for the stack. If one is short, it stops with the quota, its usage, and a link to request an increase. See AWS quotas.
After initial setup
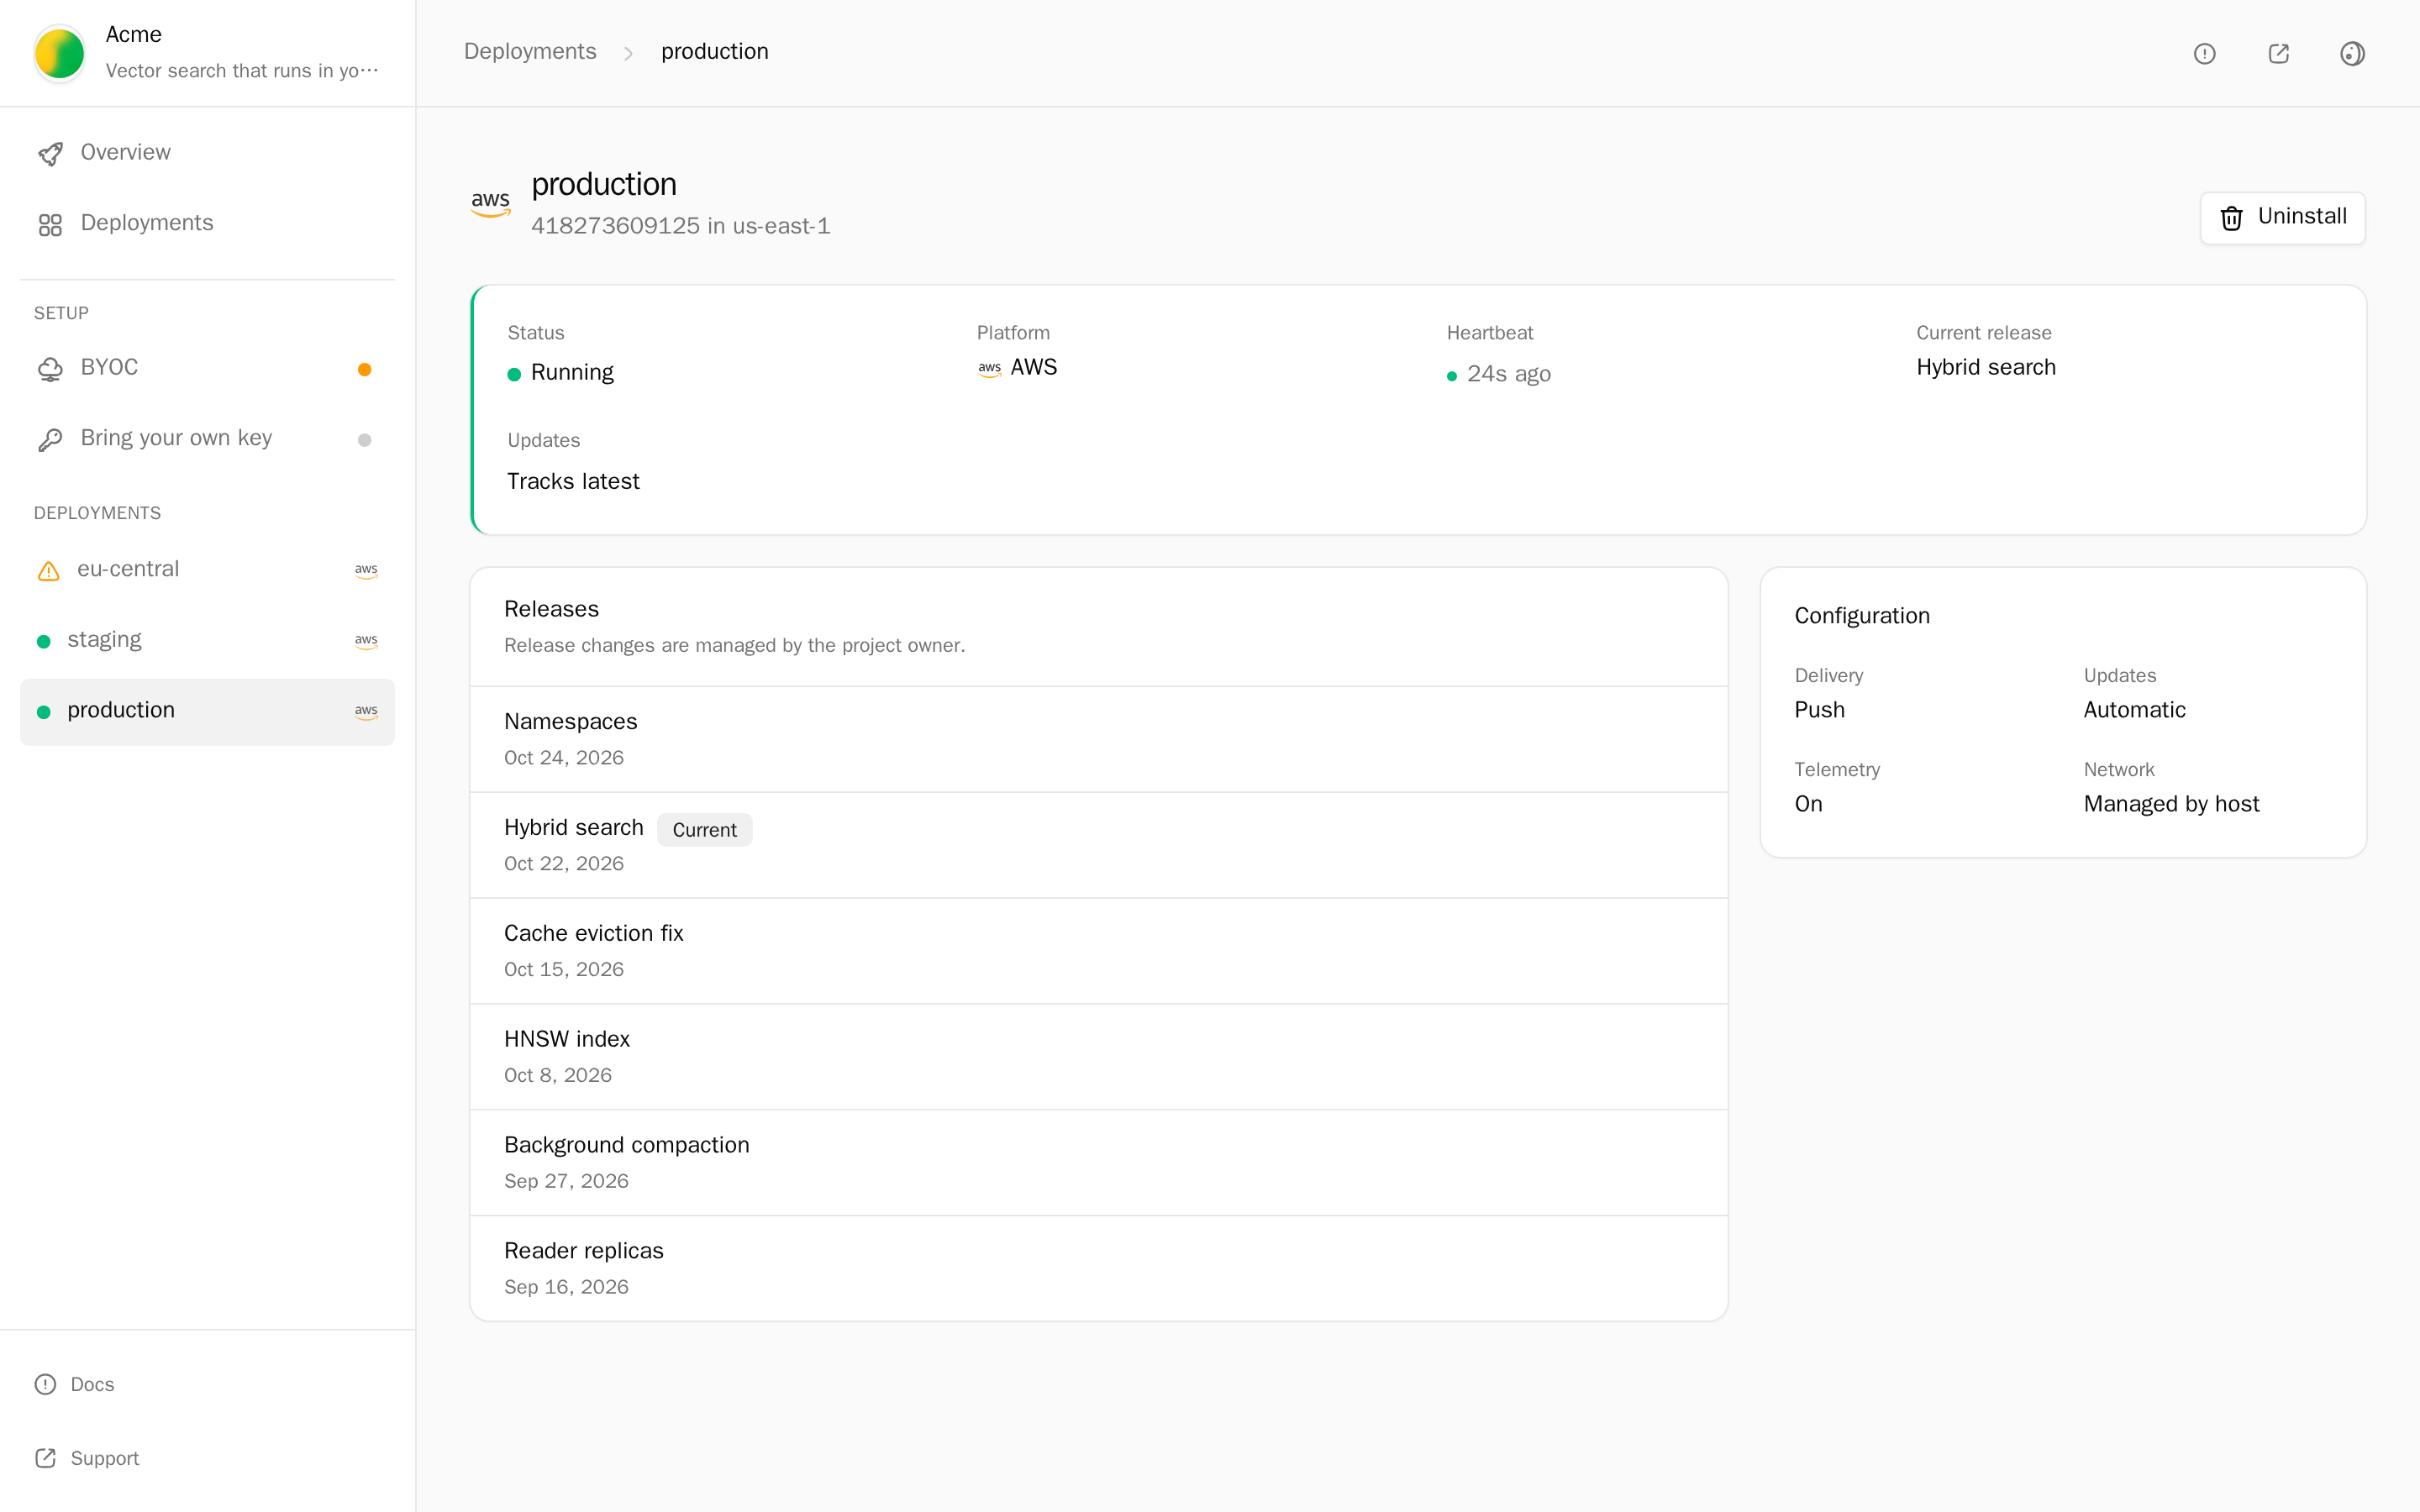
Ongoing management needs no admin. The deployment's page stays available from the same link:
- Status, Platform, Heartbeat, and the current release. The status moves from Setting up to Provisioning to Running.
- Secrets: where to write each secret the admin provides, with the command for their secret store. The deployment shows Waiting for secrets until they exist.
- Releases: pin or roll back, only when the link has Allow release pinning on.
- Retry after a failed initial setup, with the step to repeat for the setup method.
- Infrastructure update needed, when a release needs the initial setup to run again. Continue update shows the steps. See Releases that need initial setup again.
- Uninstall, and Finish uninstall with the last step for the setup method. See Remove a deployment.
When you launch the portal from your product, your product shows these states too:
- Updates and connection: releases that wait for the admin, and deployments that stop reporting.
- Errors and retries: what to show when a cloud call fails.
- Status messages: the words for each state.
- Remove a deployment: removal from your product.
Next
- Create a setup link: every option a link can set
- Brand the portal: your logo, colors, and domain
- Follow a deployment: what you see on your side, and when to step in
Create a link
A setup link is a URL for one customer that opens the deployment portal. Create one in the dashboard, CLI, or API, choose what it allows, and send it.
Branding
White-label the deployment portal with your logo, colors, and domain, and rename the setup CLI and Google sign-in your customer's admin sees.