
Brand the portal
Branding white-labels the setup screens your customer's admin sees, so they show your product instead of Alien. The deployment portal (the setup page Alien hosts for the admin), the package downloads, and the setup CLI use your logo, colors, and domain.
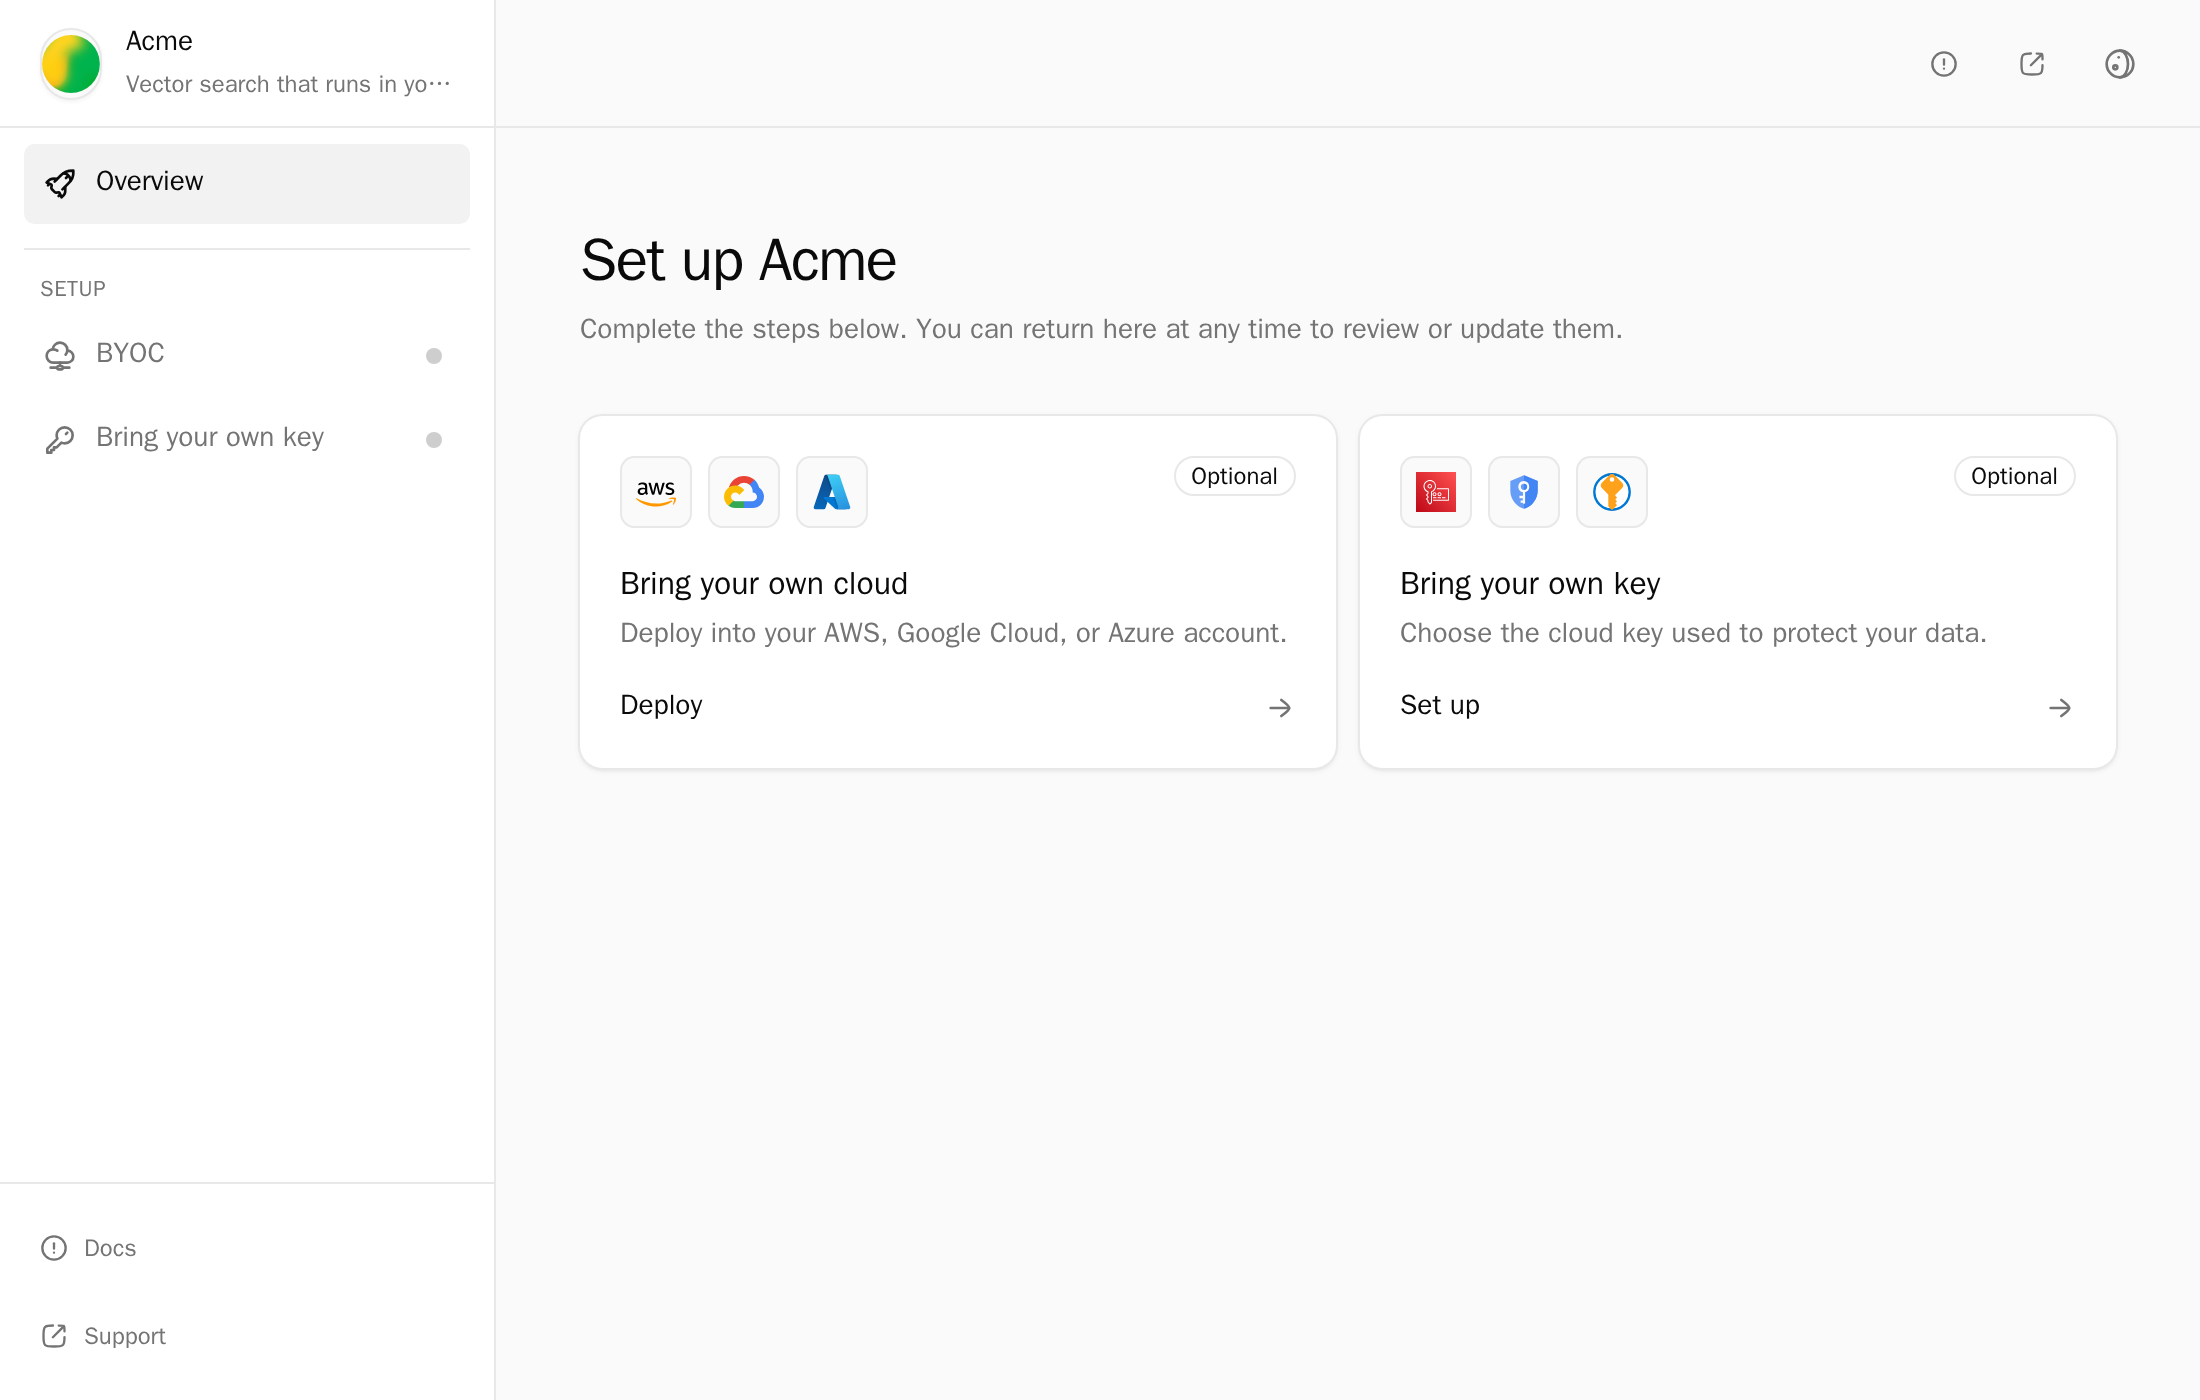
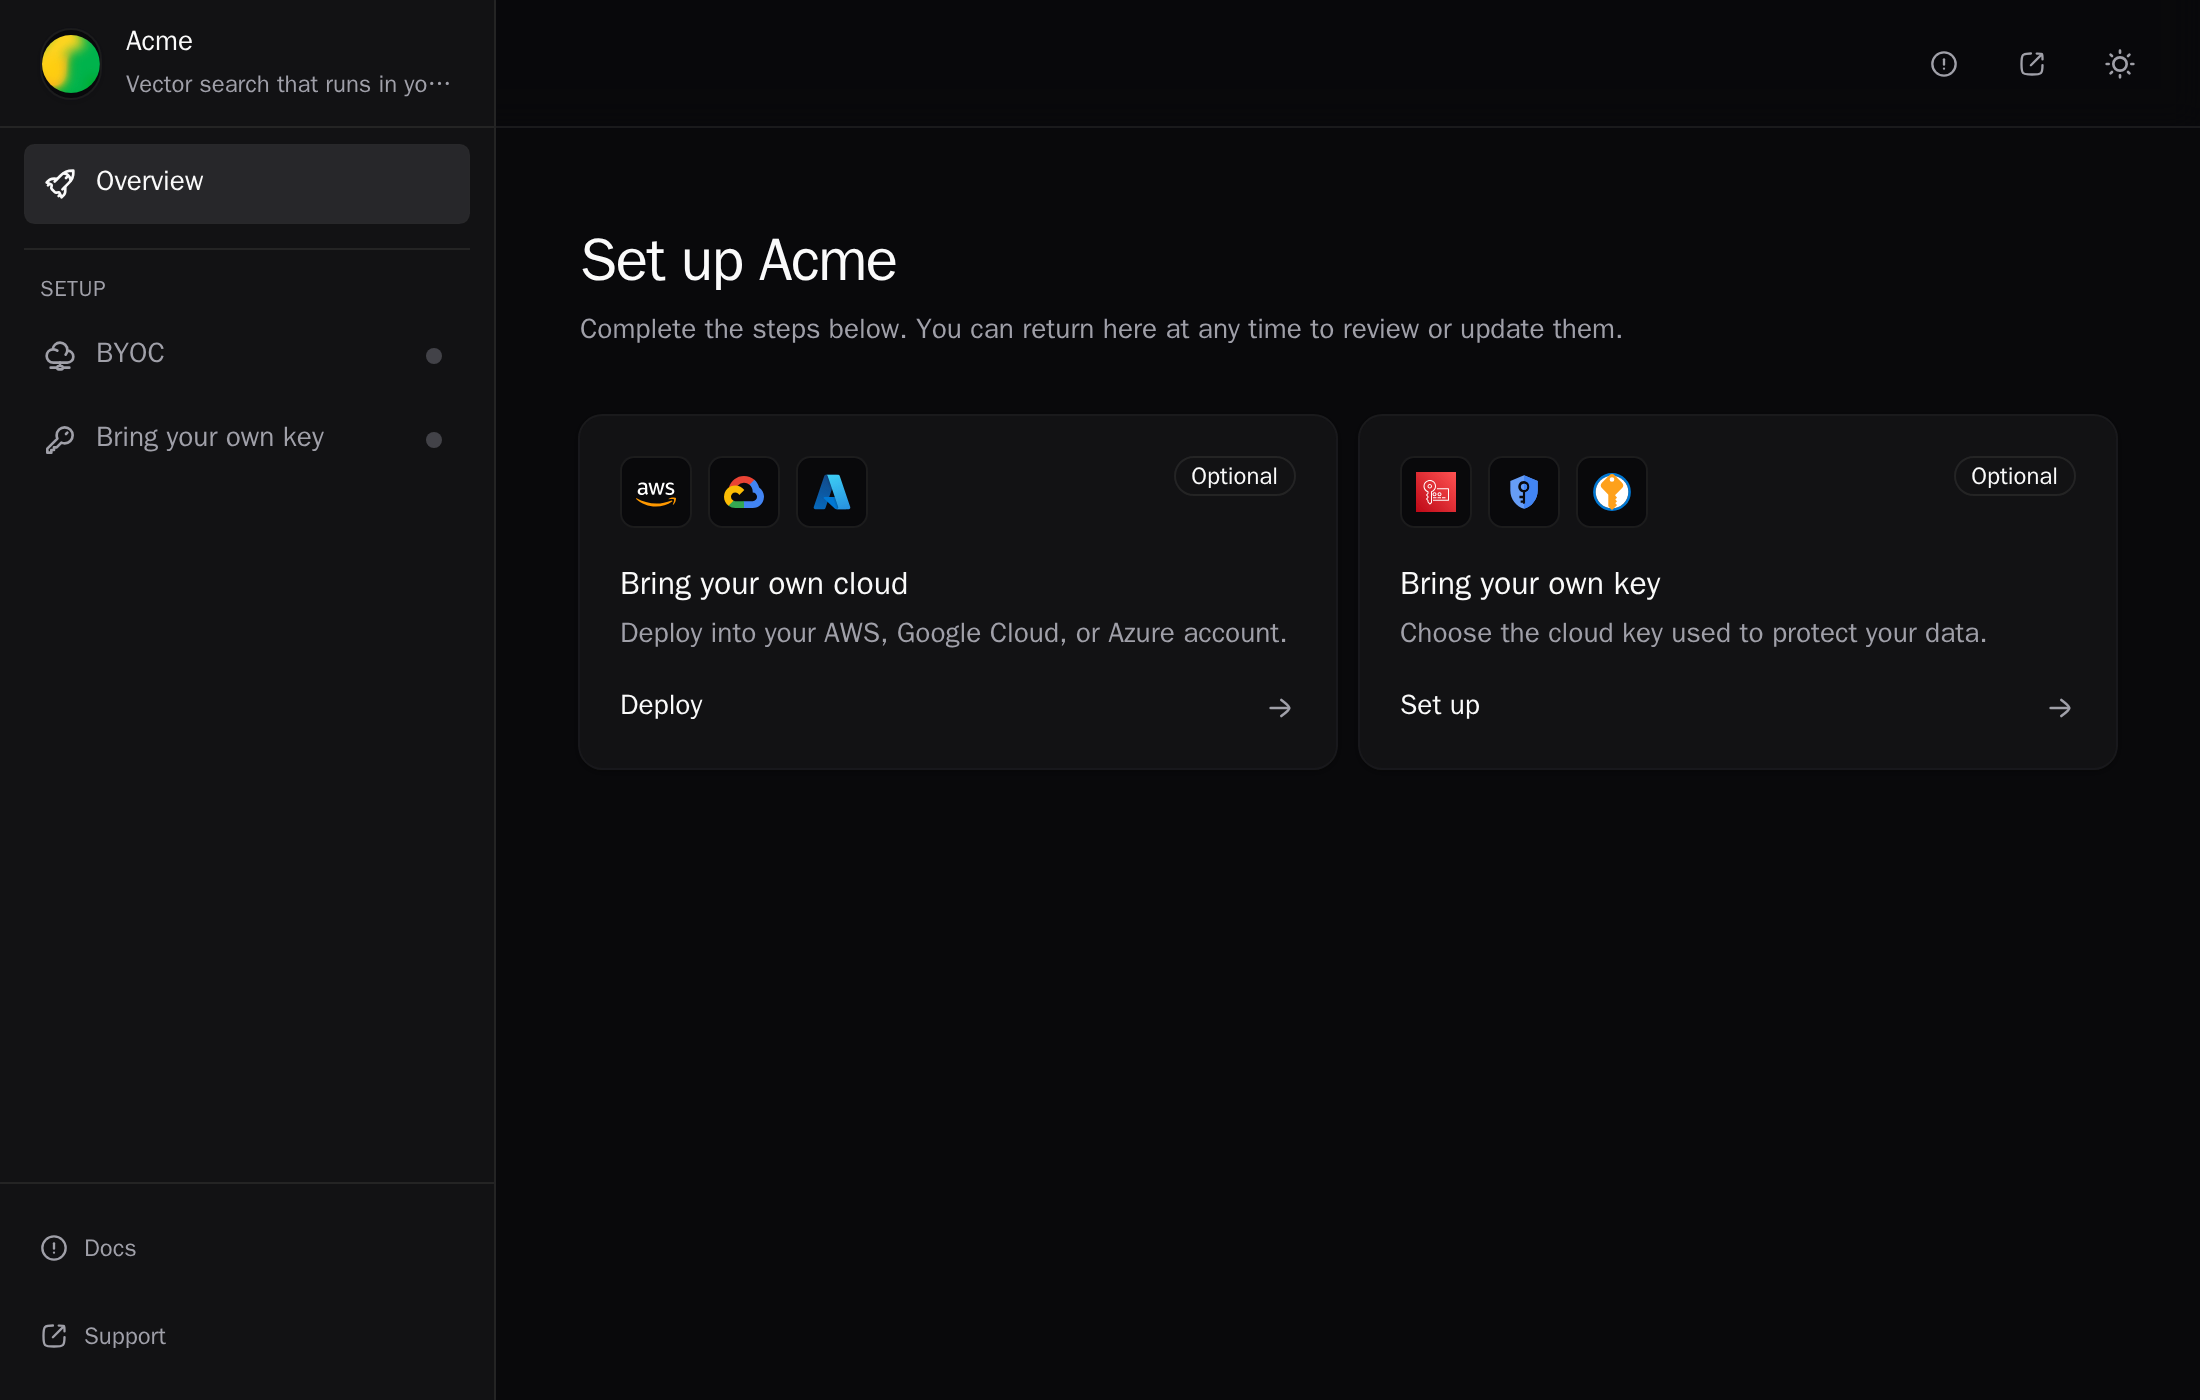
Branding applies whenever the admin sets up from the portal: after you send a link or from a Deploy button. When you build it into your product, the setup screen is your own page, but the setup CLI name and package domain below still apply.
Branding belongs to the project, so every setup link for it uses it, including links for keys, models, storage, and sandboxes.
Name, colors, and logo
Open project Settings → Deployment Portal. The editor shows the portal as you change it.
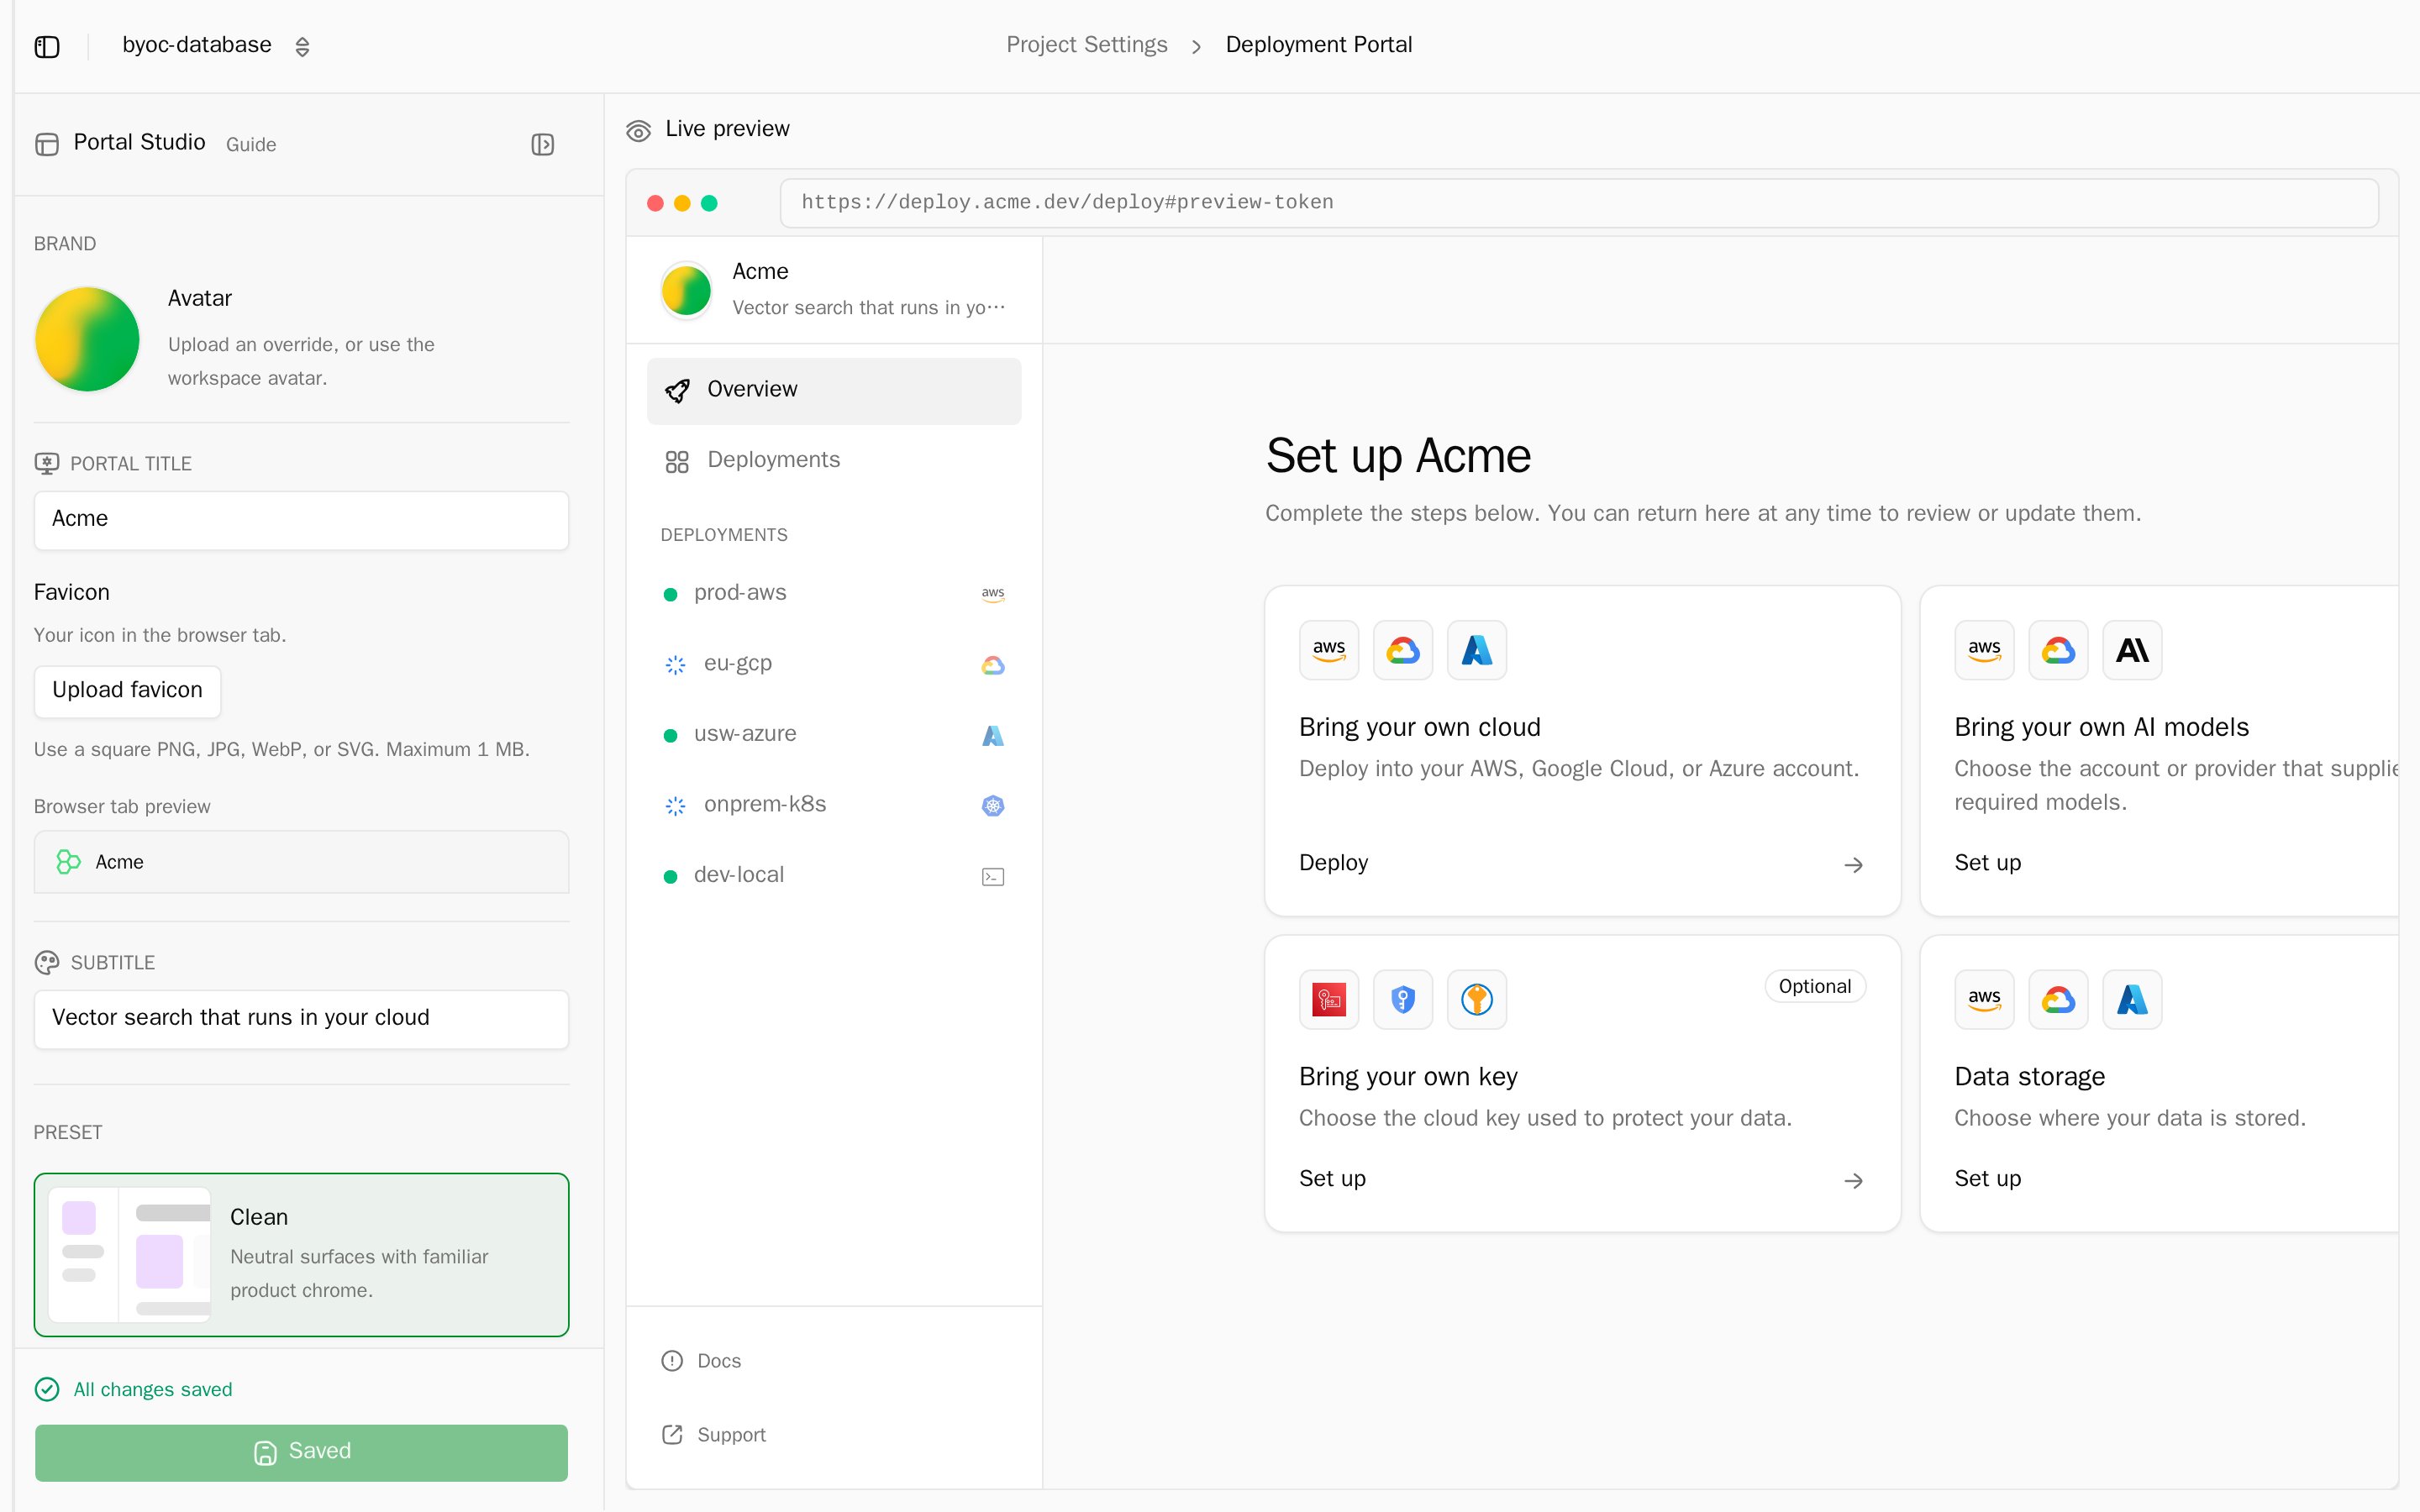
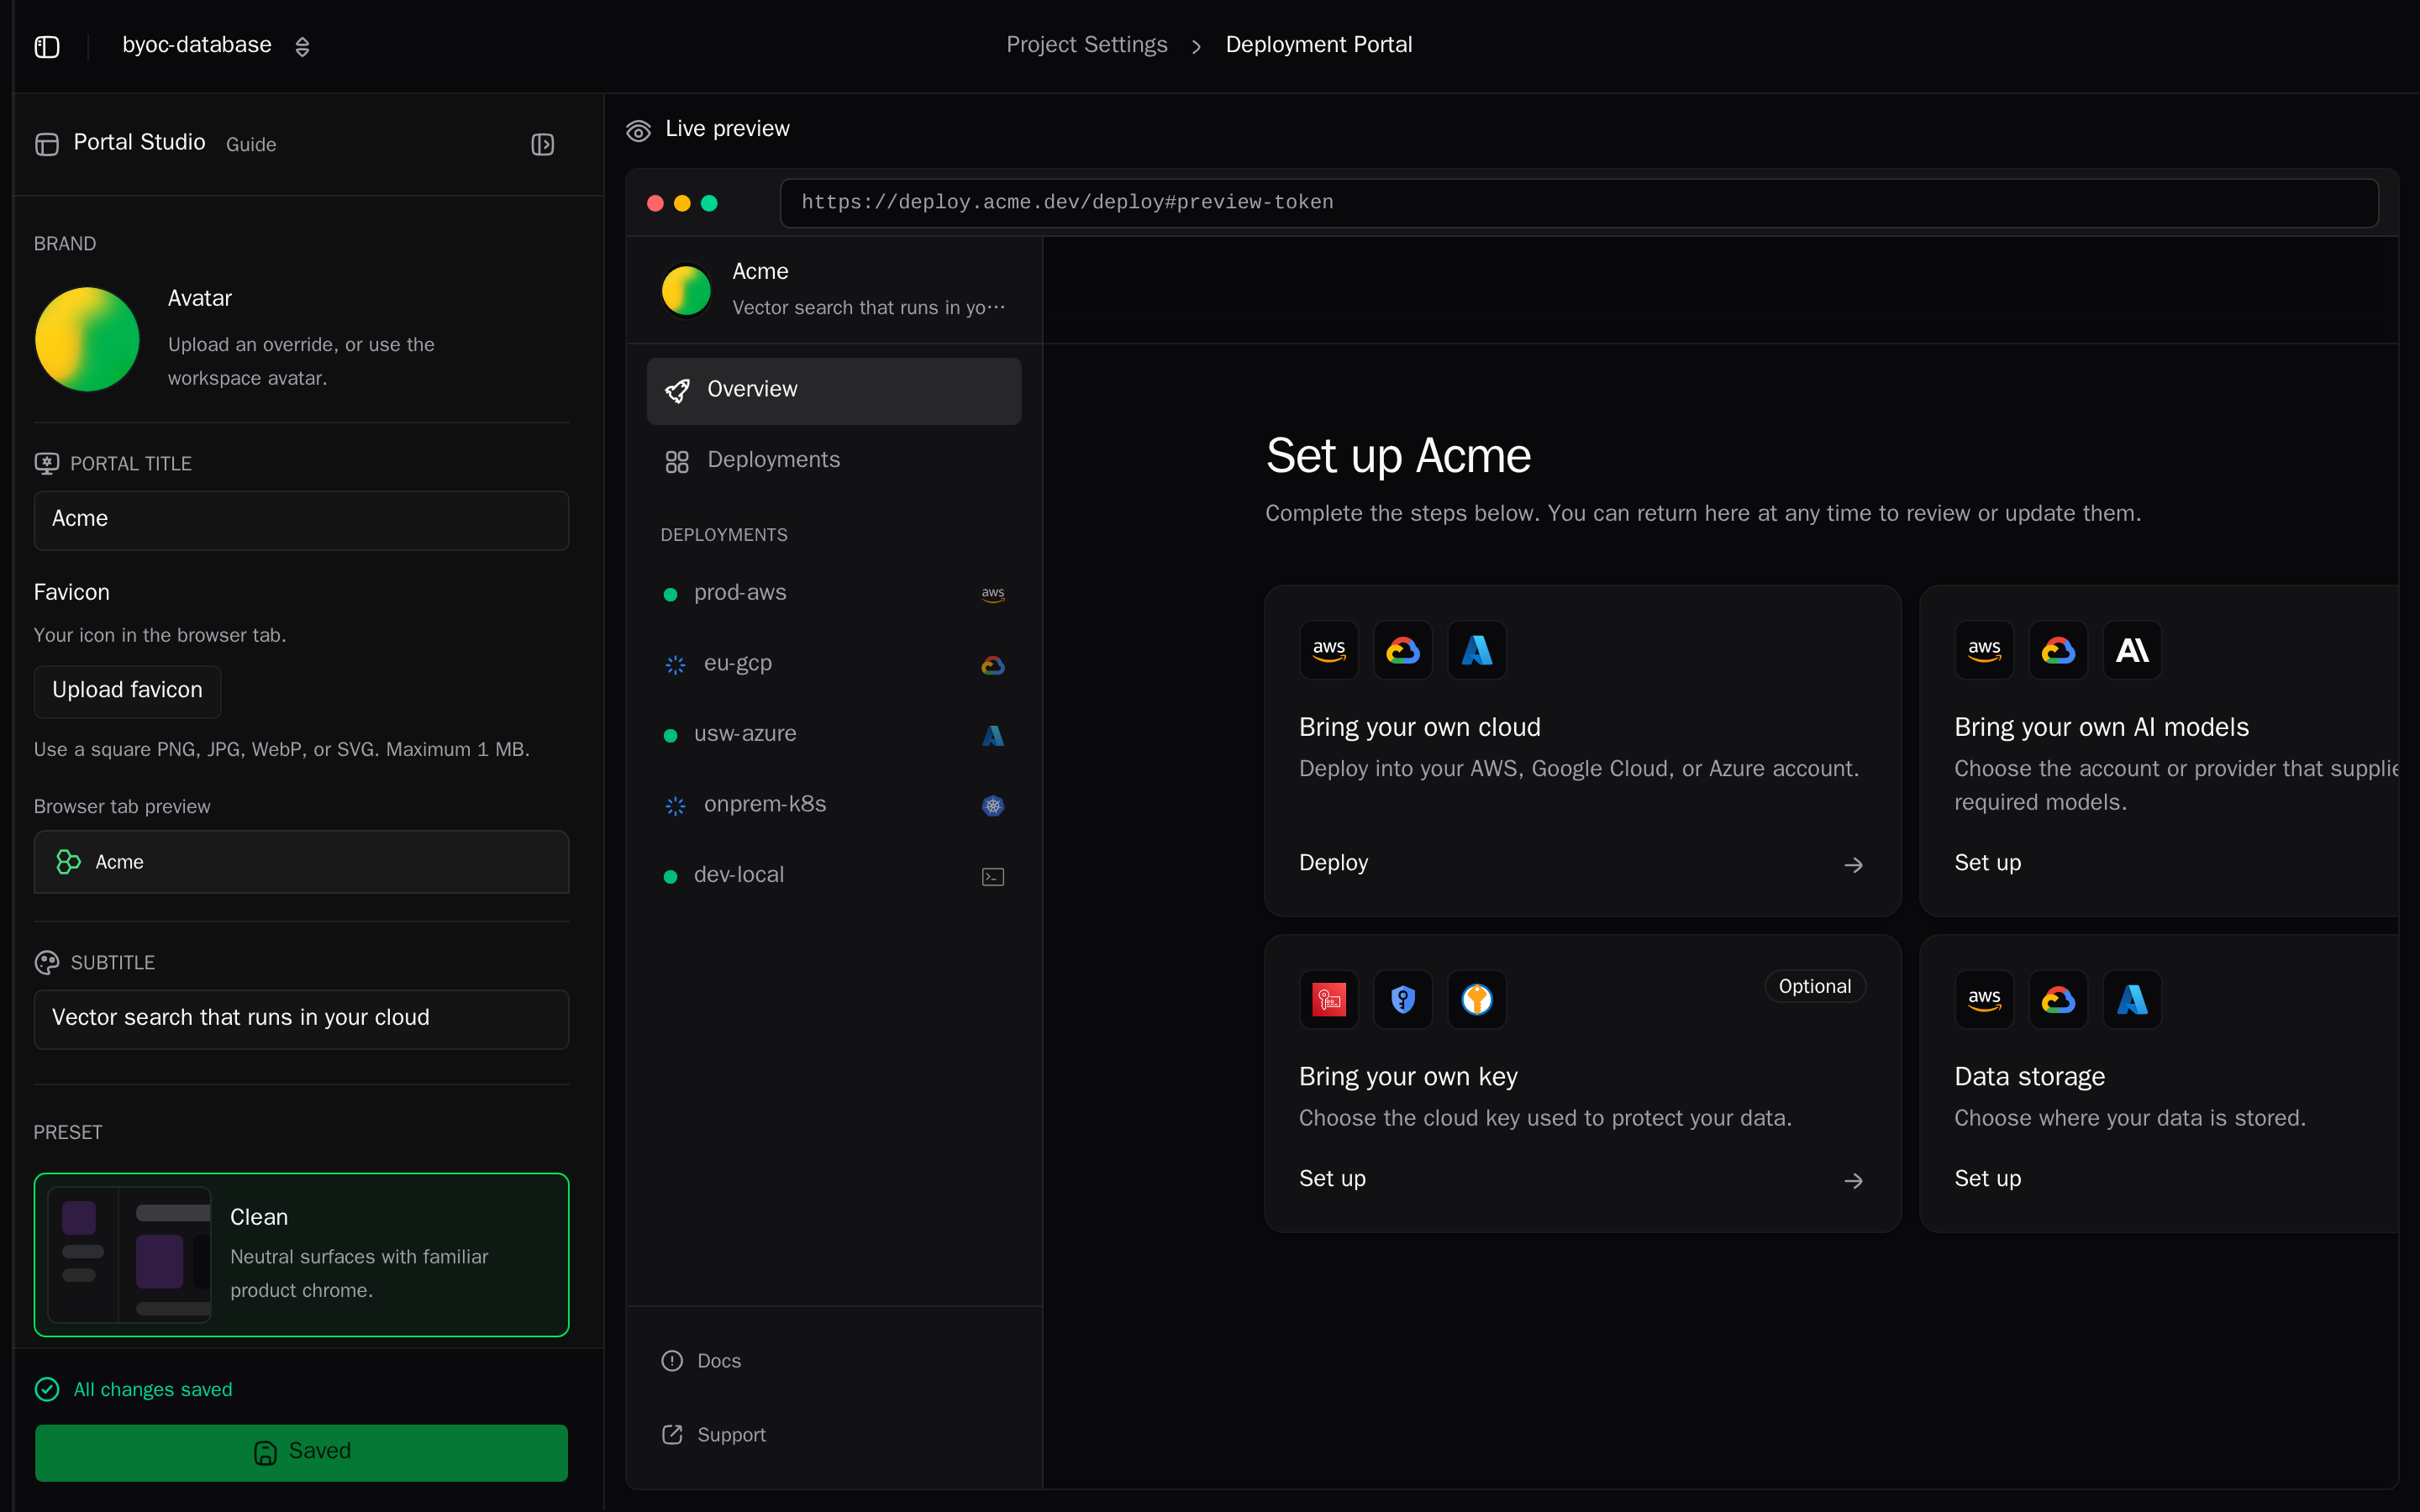
- Brand: avatar, Portal Title, Subtitle, and favicon.
- Appearance: a preset (Clean, Technical, Enterprise, Playful, Minimal), Accent Color, and Density (Comfortable or Compact).
- Links: Support URL and Docs URL, shown to the admin during initial setup.
Click Save Portal.
From the CLI, alien projects portal set changes only the fields you pass. The project argument defaults to the linked project:
alien projects portal set docproc \
  --title Acme \
  --subtitle "Document processing in your cloud" \
  --preset enterprise \
  --accent-color blue \
  --density compact \
  --avatar-url https://acme.com/logo.png \
  --favicon-url https://acme.com/favicon.png \
  --support-url https://acme.com/support \
  --docs-url https://docs.acme.com
Check what's saved with alien projects portal get docproc --json. It prints the appearance, the domain status, and the Google sign-in settings.
Each save replaces the whole appearance on the server. Run edits one at a time: two people editing at once can overwrite each other's changes.
Your domain
By default, setup links point at Alien's host. To serve the portal and package downloads from your own domain:
- In workspace Settings → Domains, click Add Custom Domain, for example
deploy.acme.com. - Follow Delegate DNS: add the NS records at your DNS provider within 24 hours.
- Wait for the domain to show Verified, then click Use for your project.
Once the domain is verified, you can do step 3 from the CLI. --use takes the domain's ID or hostname, and --unset goes back to the default host:
alien projects portal domain docproc --use deploy.acme.comThe domain then serves:
- The deployment portal: setup links become
https://deploy.acme.com/deploy#<token>. - Package downloads at
pkg.deploy.acme.com: the CLI, CloudFormation templates, Terraform modules, and Helm charts. - Deployment URLs, as
<endpoint>.<label>.deploy.acme.com.
The domain moves through Setting up, Waiting for DNS, Active, Needs attention, or Removing. The Deployment Portal page and alien projects portal domain docproc show it. New links use the domain once it is Active.
Custom domains need the Pro plan (5 domains) or Enterprise (unlimited).
Customers always get generated deployment hostnames. Only you can choose a subdomain, and only on a custom domain: set it on the link with --subdomain, or use alien deploy --public-subdomain for your own deployments. See Networking.
Google sign-in
On Google Cloud, the admin can set up with Google Login. By default, Google's consent screen names Alien. To show your own name, create an OAuth web client in your Google Cloud project and add it under Deployment Portal → Google Sign-In.
From the CLI, pass the client ID and read the secret from a file, or - for stdin. The command prints the redirect URIs to add to the client in Google Cloud:
alien projects portal google-sign-in docproc \
  --client-id 1234567890-abc.apps.googleusercontent.com \
  --client-secret-file oauth-secret.txt
Run it without flags to see the current settings. --alien-managed switches back to Alien's client. See Google Cloud.
Setup CLI name
Admins who prefer a terminal run the setup CLI, alien-deploy. Rename it in project Settings → Artifacts → CLI → Command name, for example acmectl, and set its Display name. The portal's CLI instructions then use the new command name:
acmectl deploy --token-file setup-token.txt --name production --platform aws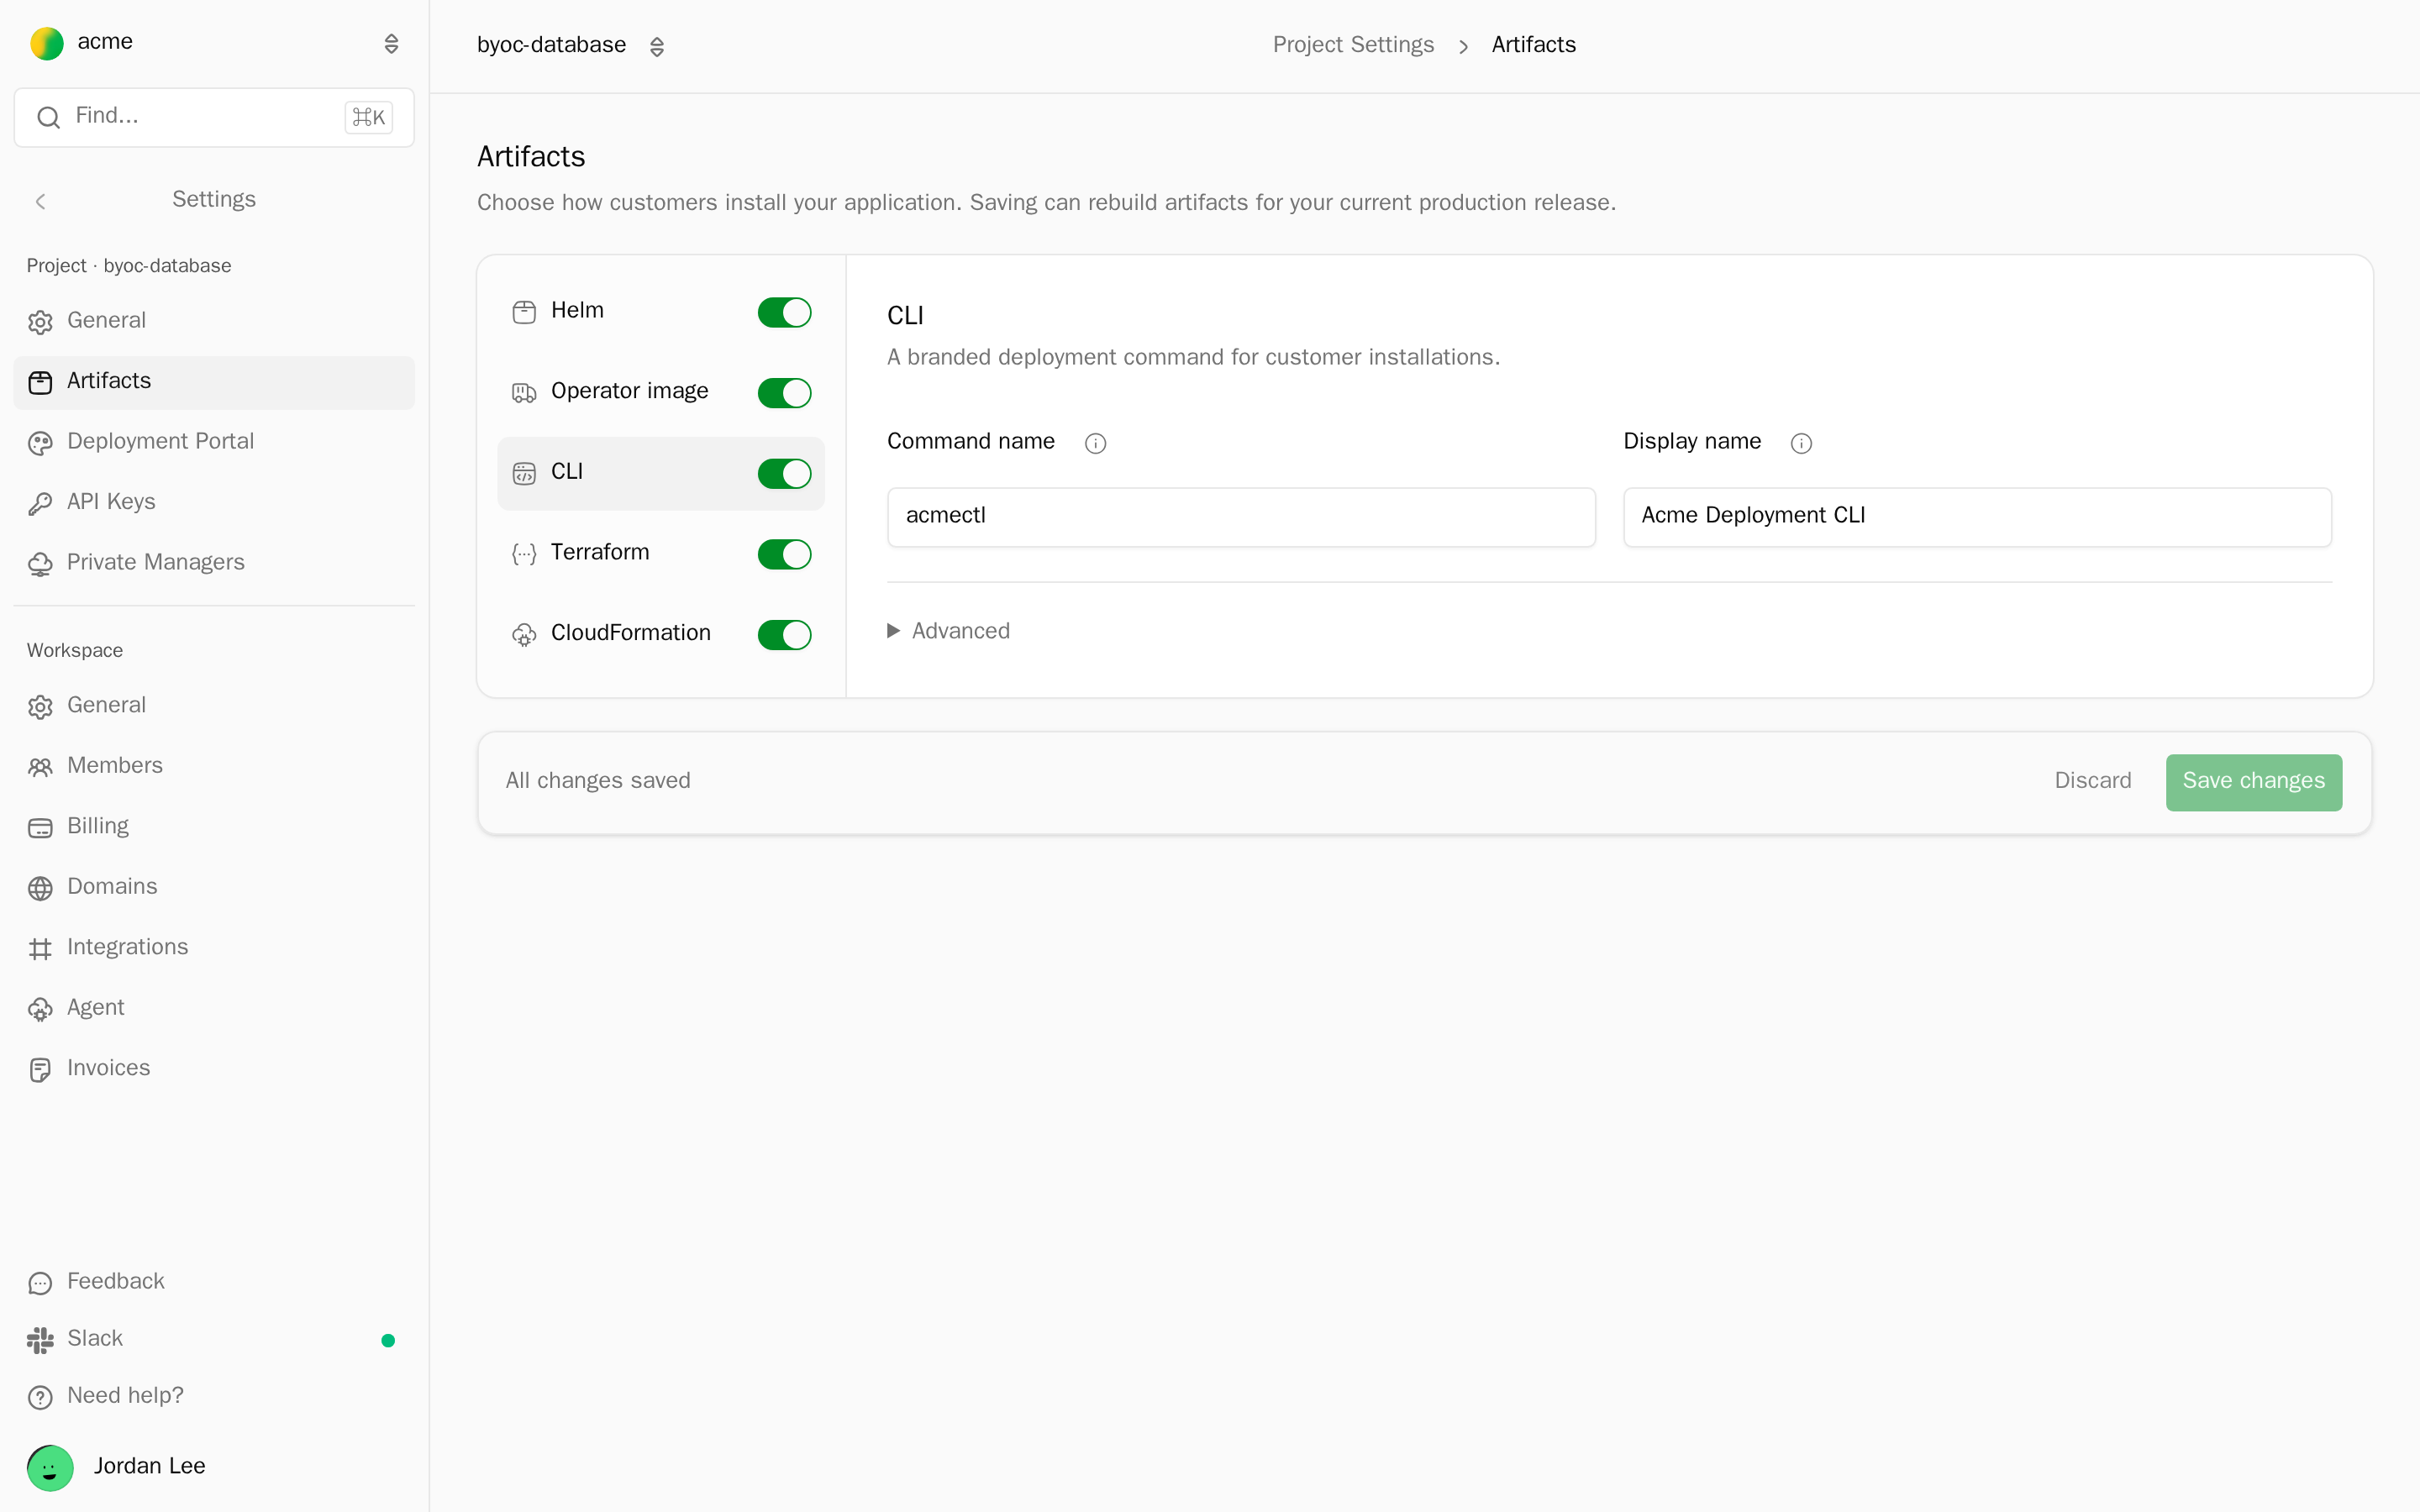
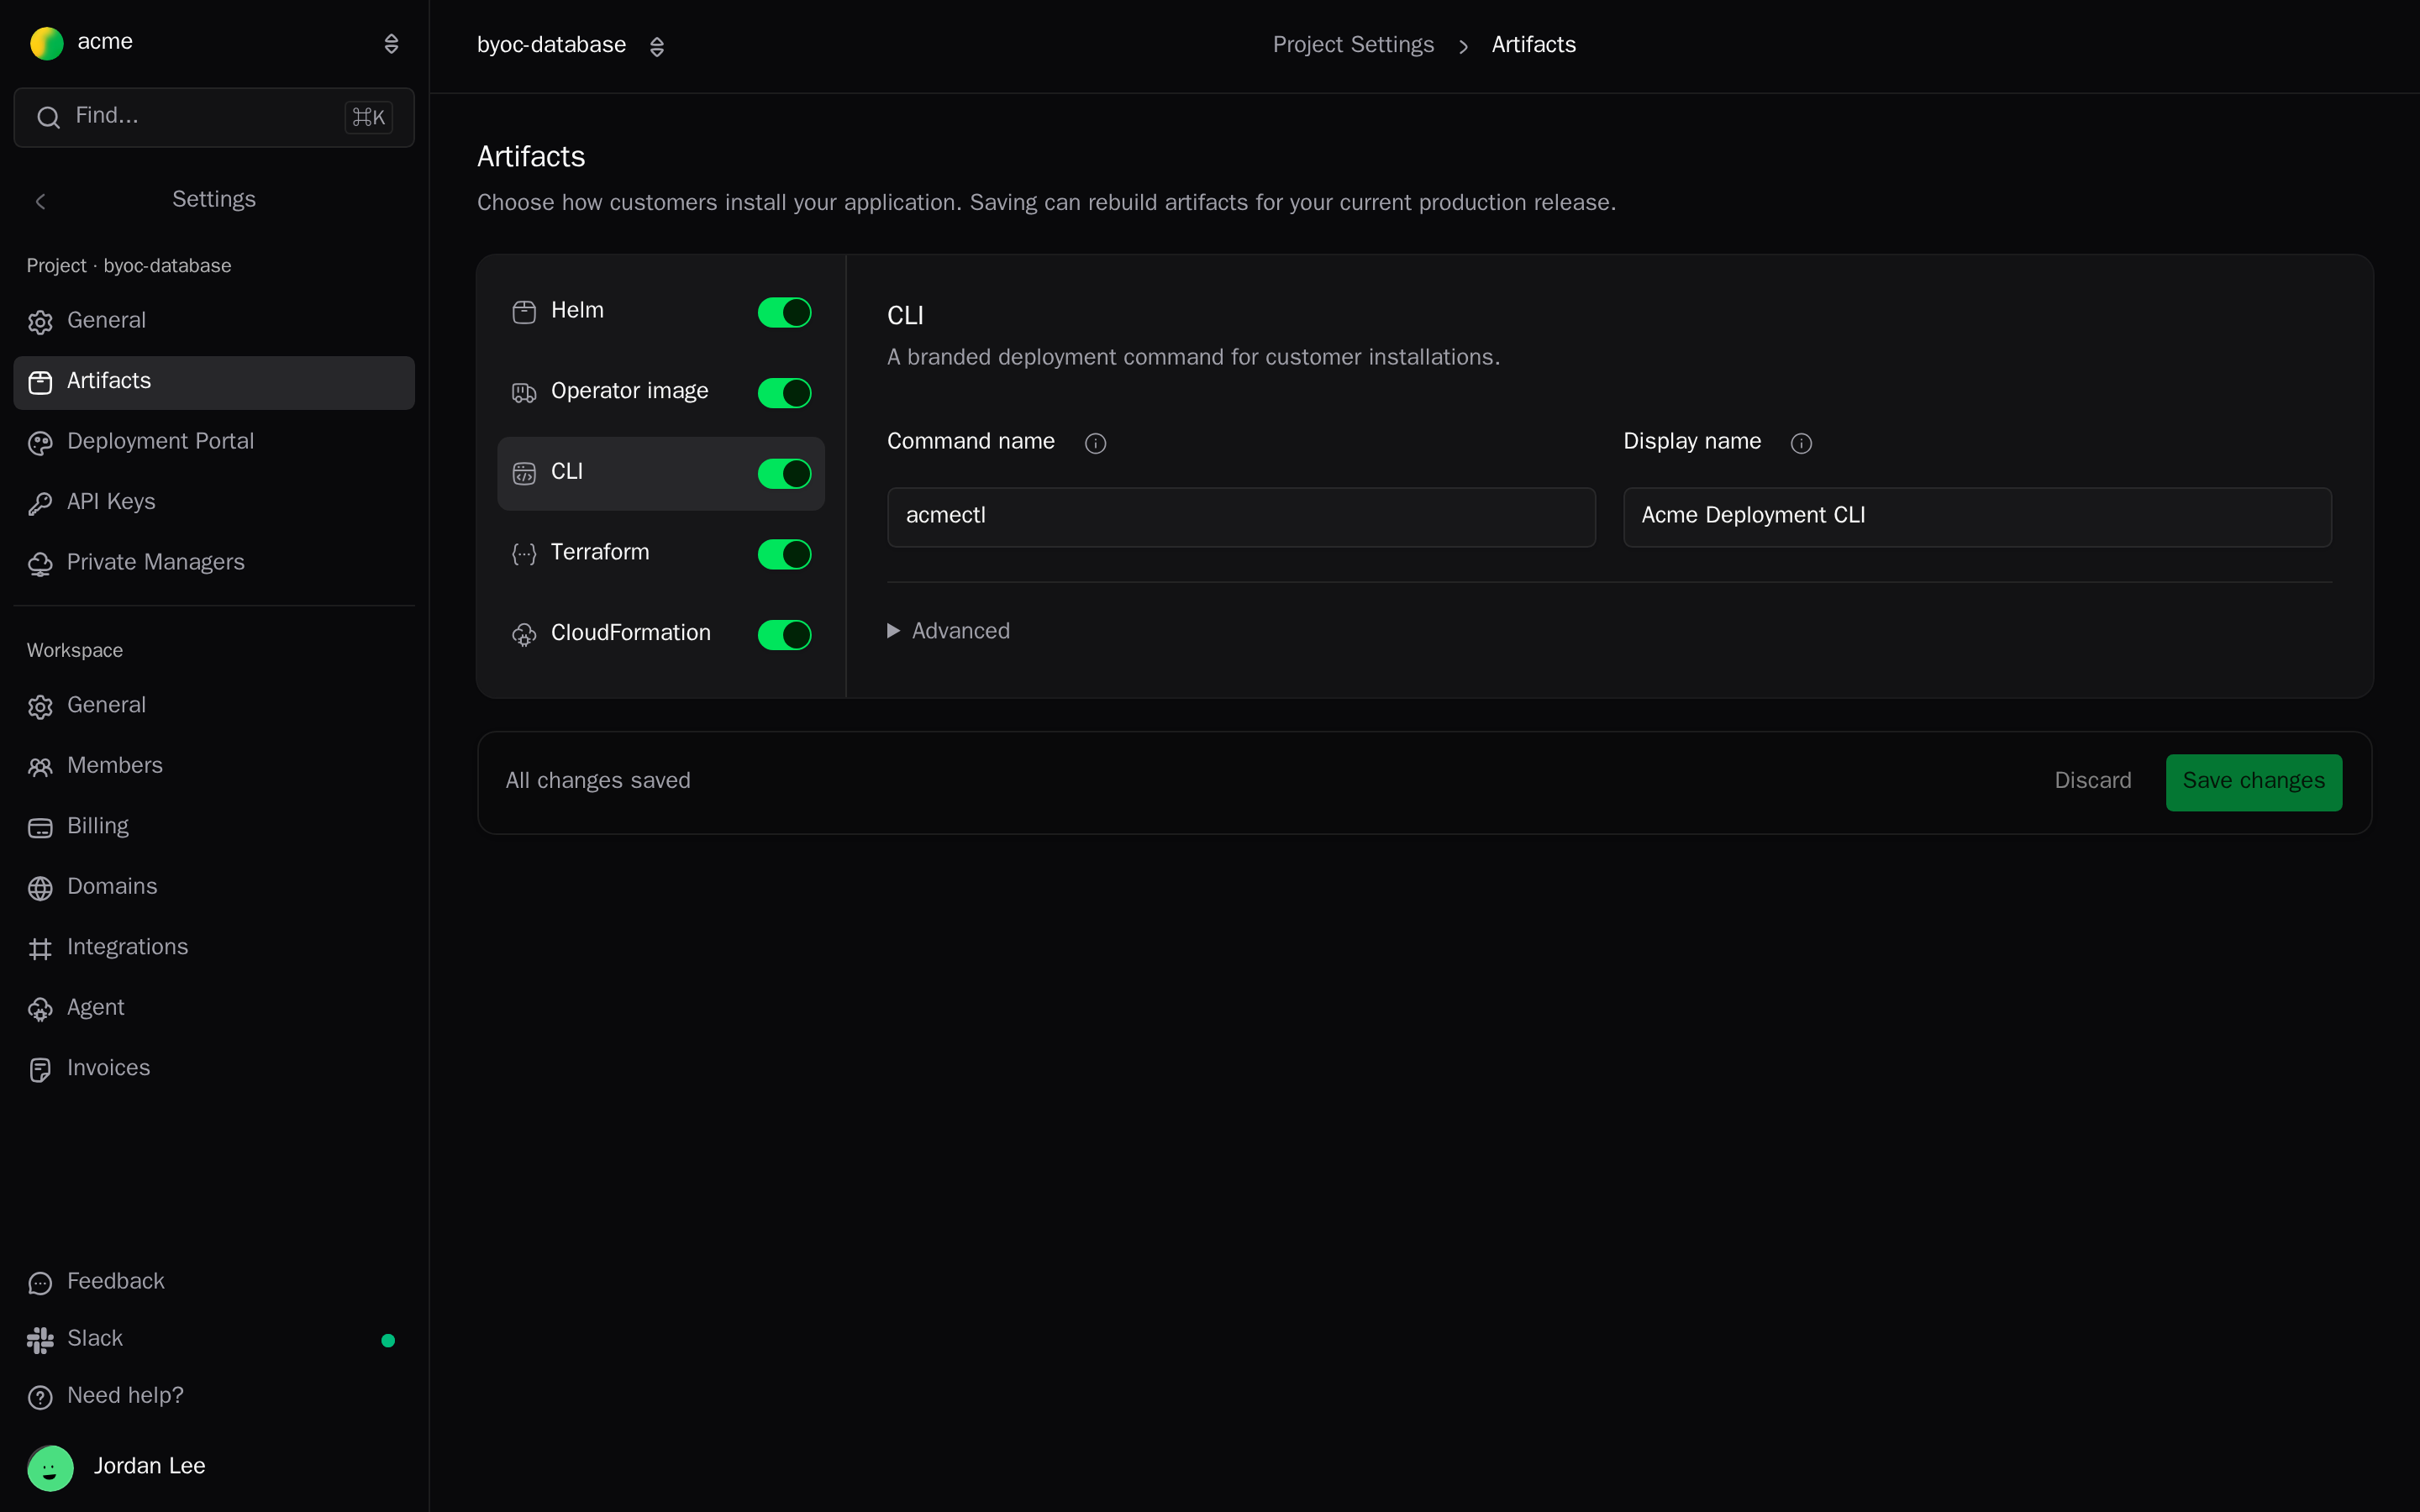
From the CLI, send only the fields that change:
alien projects packages update --file - <<'EOF'
{ "cli": { "enabled": true, "name": "acmectl", "displayName": "Acme Deployment CLI" } }
EOF
Saving rebuilds the packages for the current release. The same settings rename the Helm Chart name and the Operator image's Image name and Resource prefix. See Customize the packages and alien-deploy.
Settings reference
| What the admin sees | Dashboard | CLI |
|---|---|---|
| Name, colors, logo, links | Project Settings → Deployment Portal | alien projects portal set |
| Portal and package domain | Workspace Settings → Domains, then Use for | alien projects portal domain |
| Google sign-in | Deployment Portal → Google Sign-In | alien projects portal google-sign-in |
| Setup CLI name | Project Settings → Artifacts → CLI | alien projects packages update |
alien projects portal set flags:
| Flag | Values |
|---|---|
--title | Up to 80 characters |
--subtitle | Up to 160 characters |
--preset | clean, technical, enterprise, playful, minimal |
--accent-color | blue, purple, green, orange, pink, slate |
--density | comfortable, compact |
--avatar-url, --favicon-url, --support-url, --docs-url | Absolute URLs |
--clear | Resets a field to its default: title, subtitle, avatar-url, favicon-url, support-url, docs-url. Repeat for several. |
--file | A JSON object of appearance fields, or - for stdin. Flags override the file. |
Next
- Deployment portal: the branded portal, step by step
- Create a link: the links that open your portal
- Follow a deployment: what you see while the admin sets up
Deployment portal
A branded setup page Alien hosts for your customer's admin. They open one link, set up your software in their own cloud, and follow its status.
Deploy button
Add a Deploy in your cloud button to your settings page that opens the deployment portal, then show the deployment's progress and removal in your product.